

Introduction
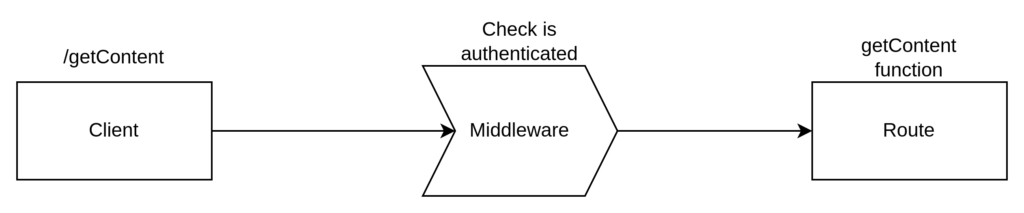
A middleware in nest framework is a function that is triggered before the route is handled. The main thing with middleware is that it has access to the request and the response object, and the next middleware function. The next function acts like a breakpoint, if the next() is called it exits from the middleware function and goes to the route the request was made for. The figure below shows the operational flow of a middleware.
Following are the things that middleware can do:
- It runs any code before the actual request function executes
- Make changes to the request object
- Make end to the request and response cycle
Prerequisites
Middleware in NestJS
Middleware in nestjs is similar to that of middleware in express, all the working principle is the same. The only difference that is seen is that in express middleware is made as a function, in nest middleware is made as a class that implements the NestMiddleware interface.
We are going to look at creating and implementing middleware in Nest.
Creating a middleware
We are going to create two routes one is login route and the other one is getContent route. The login route will return JWT when user is logged in, and the other route getContent route will return all the content present.
## create a nest project
$ nest new nest-middleware

## open the project with your favourite code editor
$ cd nest-middleware && code .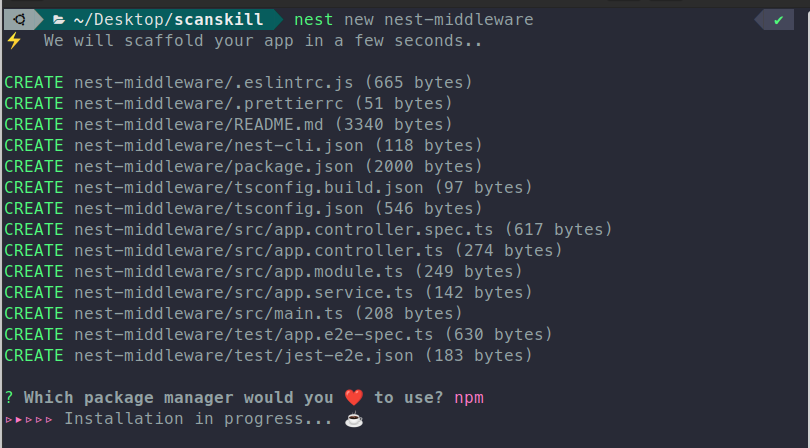
Lets add two routes in the application.controller.ts file.
But, before that install the function that generates the JWT.
## Requirement installation
$ npm install jsonwebtoken
$ npm install --save-dev @types/jsonwebtoken
Now, that the required packages are present, let’s move on to creating the two routes.
## application.controller.ts

import { Body, Controller, Get, Post } from '@nestjs/common';
import { AppService } from './app.service';
import { sign } from 'jsonwebtoken';

@Controller()
export class AppController {
  constructor(private readonly appService: AppService) {}

  @Post('/login')
  login(@Body() body) {
    const email = body.email;
    const password = body.password;
    if (email === 'hello@scanskill.com' && password === 'password') {
      return sign({ email: email, id: 1 }, 'secretKey');
    }
    return ' incorrect email or password ';
  }

  @Get('/getContent')
  getContent() {
    return [
      { id: 1, body: 'content-one' },
      { id: 2, body: 'content-two' },
      { id: 3, body: 'content-three' },
    ];
  }
}
Now that the routes have been created. Let’s create the middleware.
## creates a middleware file with required dependencies
$ nest g middleware auth --no-spec
The above code generates a file called auth.middleware.ts. Let’s create a code that checks if the JWT is provided by the user or not, and if provided it is valid or not.
## auth.middleware.ts

import { HttpStatus, Injectable, NestMiddleware } from '@nestjs/common';
import { Request, Response, NextFunction } from 'express';
import { verify } from 'jsonwebtoken';

@Injectable()
export class AuthMiddleware implements NestMiddleware {
  use(req: Request, res: Response, next: NextFunction) {
    const token = req.headers.authorization;
    if (!token) {
      return res
        .status(HttpStatus.UNAUTHORIZED)
        .json({ message: 'login to continue' });
    }
    const isValid = verify(token, 'secretKey');
    if (!isValid) {
      return res
        .status(HttpStatus.UNAUTHORIZED)
        .json({ message: 'login to continue' });
    }
    next();
  }
}
The above middleware checks if the token is provided by the user and in the req.headers.authorization section. If the token is valid then it will go to its original route.
Implementing the middleware
Implementation of middleware is always present in the parent module. The main module will implement the NestModule interface. This is done in the file app.module.ts as we are creating middleware for routes present in this module.
import { MiddlewareConsumer, Module, NestModule } from '@nestjs/common';
import { AppController } from './app.controller';
import { AppService } from './app.service';
import { AuthMiddleware } from './auth.middleware';

@Module({
  imports: [],
  controllers: [AppController],
  providers: [AppService],
})
export class AppModule implements NestModule {
  configure(consumer: MiddlewareConsumer) {
    consumer.apply(AuthMiddleware).exclude('/login').forRoutes(AppController);
  }
}
The above middleware excludes the /login route. Other all routes include in the module. Let’s look at the results after implementing the AuthMiddleware.
Results
Login Route

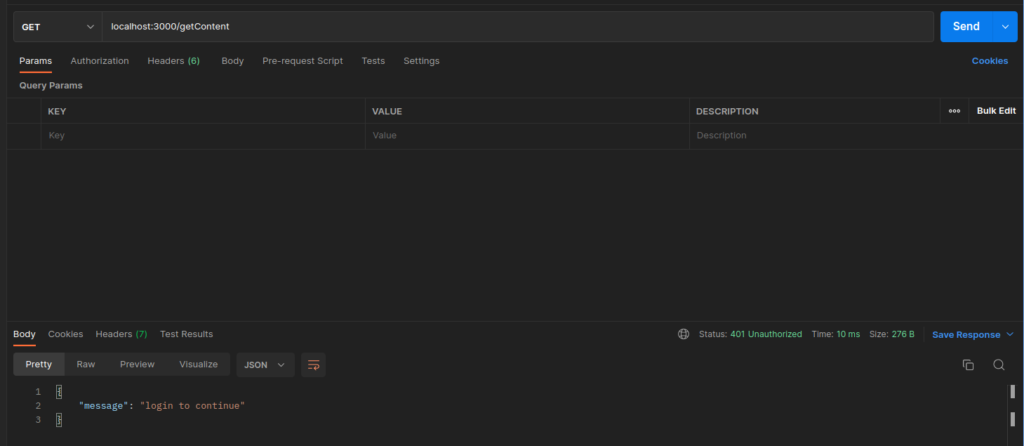
/login routegetContent route without token
getContent route with token in header
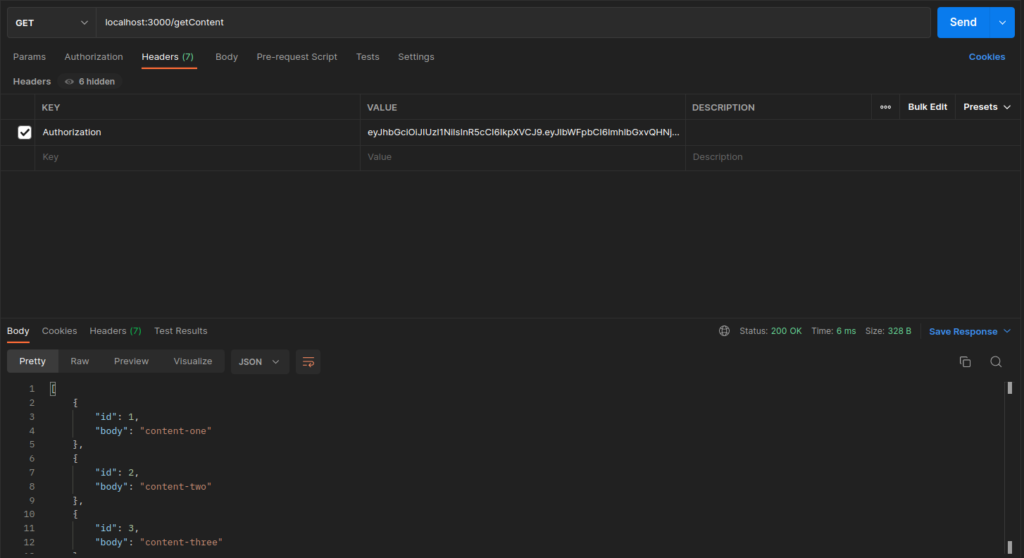
The results show that when the jwt token is sent, then getContent route is available to be used.
Conclusion
So, in this article, we looked at how to create middleware in nestjs. We also touched upon excluding routes while implementing middleware in a whole module.
For detail on middleware in Nest look into the official docs middleware in nest.