

In this article, we will learn how to generate sitemap using Laravel. The sitemap contains information about the pages, videos, and other files on your site, including their relationships. This file is read by search engines like Google so they can crawl your site more efficiently. In addition to providing valuable information about your site’s files and pages, a sitemap tells Google where they can find the important pages and files.
Prerequisites
- A basic understanding of Laravel
How to generate sitemap using Laravel 9?
First, let’s create a Laravel 9 project using the following command.
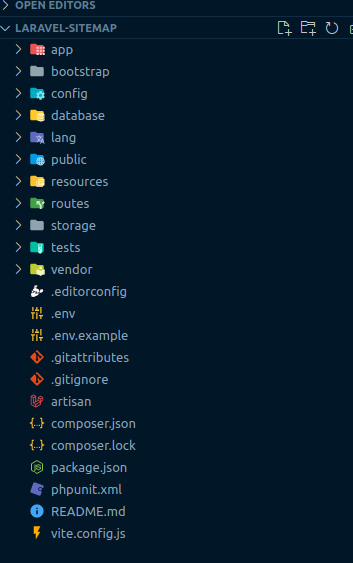
composer create-project laravel/laravel:^9.0 laravel-sitemapAfter executing the above command Laravel will create the project like below.
Now, let’s configure a database in a .env file like the one below so that we can create some dummy data which will later be used to generate a sitemap.
DB_CONNECTION=mysql
DB_HOST=127.0.0.1
DB_PORT=3306
DB_DATABASE=//Your database name
DB_USERNAME=//Your database username
DB_PASSWORD=// Your database password
Let’s create a migration file as follows which will create a Blog table with id, url, description, and timestamp columns.
php artisan make:migration create_blog_table --create=blogsAfter executing the above command, replace the up method in the generated migration file with the following code.
 $table->id();
$table->string('url');
 $table->text('description');
$table->timestamps();
Let’s create a route using with we will be able to generate a sitemap. For that add the following code to the web.php file located inside the routes folder.
use App\Http\Controllers\BlogController;

Route::get('/sitemap.xml', [BlogController::class, 'index']);
Now, let’s create a Blog Model file using the following command
php artisan make:model BlogAfter creating the blog model, add the following code
 protected $fillable = [
        'url',
        'description'
    ];
Now, let’s create some dummy data using the factory. For that execute the following code which will create BlogFactory.
php artisan make:factory BlogFactory Then, update the BlogFactory file inside the database>factories folder with following
<?php

namespace Database\Factories;

use App\Models\Blog;
use Illuminate\Database\Eloquent\Factories\Factory;

/**
 * @extends \Illuminate\Database\Eloquent\Factories\Factory<\App\Models\Blog>
 */
class BlogFactory extends Factory
{
    /**
     * The name of the factory's corresponding model.
     *
     * @var string
     */
    protected $model = Blog::class;
    /**
     * Define the model's default state.
     *
     * @return array
     */
    public function definition()
    {
        return [
            'url' => $this->faker->randomNumber($nbDigits = NULL, $strict = false),
            'description' => $this->faker->text
        ];
    }
}
Now, let’s generate dummy data using the tinker command.
php artisan tinker
App\Models\Blog::factory()->count(30)->create() //Create 30 dummy blog data
Now, let’s create a controller named BlogController using the following command.
php artisan make:controller BlogControllerAfter creating the controller, update the controller file with the following code.
<?php
namespace App\Http\Controllers;
use App\Models\Blog;

class BlogController extends Controller
{
    public function index()
    {
        $posts = Blog::all();
        return response()->view('index', [
            'posts' => $posts
        ])->header('Content-Type', 'text/xml');
    }
}
Now let’s create a view file to display our sitemap data. For that create a index.blade.php file inside resources>views the folder. Then, update the blade file with the following code.
<?php echo '<?xml version="1.0" encoding="UTF-8"?>'; ?>
<urlset xmlns="http://www.sitemaps.org/schemas/sitemap/0.9">
    @foreach ($posts as $post)
        <url>
            <loc>{{ url('/') }}/page/{{ $post->url }}</loc>
            <lastmod>{{ $post->created_at->tz('UTC')->toAtomString() }}</lastmod>
            <changefreq>weekly</changefreq>
            <priority>0.8</priority>
        </url>
    @endforeach
</urlset>
After completing the above process executes the server locally using the following command.
php artisan serveThen execute the following URL in your web browser.
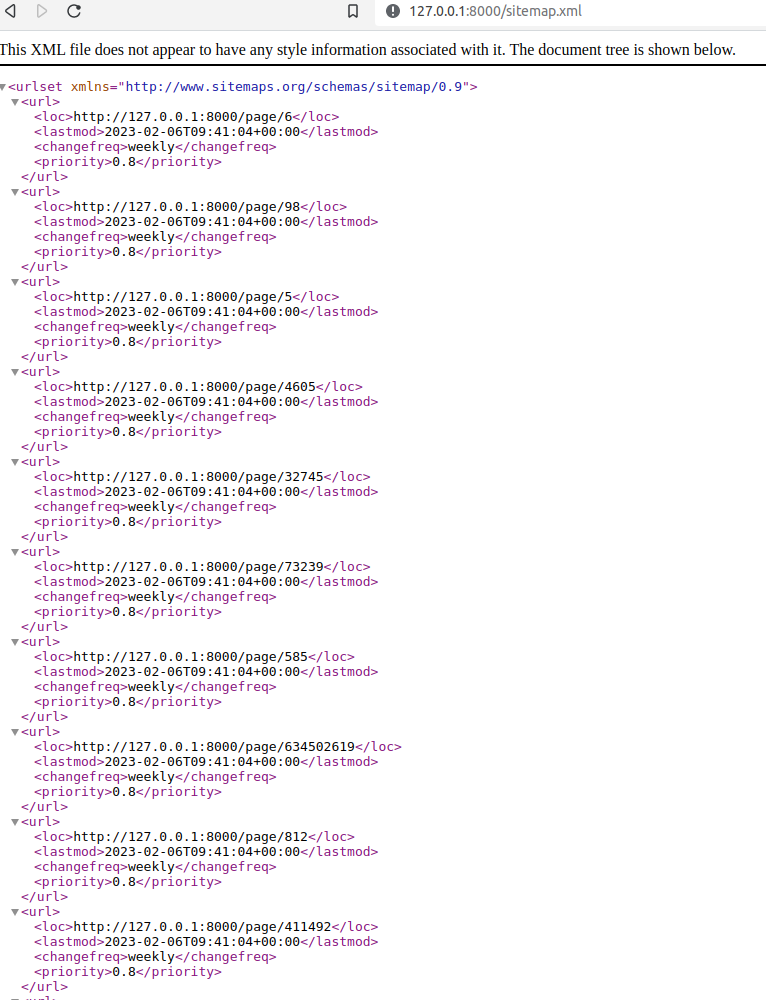
http://127.0.0.1:8000/sitemap.xmlAfter executing the above command, the following output will be displayed:
Conclusion
In this article, we have learned how to generate sitemap using Laravel. Similarly, if you want to generate a sitemap using another programming language like node js click here.