

In this article, you’ll learn how to manage your database objects without writing any code and without having to resort to SQL queries. This brings the concept of one query over multiple tables, the query is written using database-neutral languages like XML, JSON, and YAML. The solution for managing database change is to use Liquibase with MySQL.
Prerequisites
- Basic understanding of MySQL and installation of MySQL
Liquibase
Liquibase is an open-source database changeset management tool to track database changes and enables you to manage revisions of your database changes easily. Liquibase supports XML, JSON, and YAML files. Liquibase can be used in an application if you plan to modify any tables for any reason and wish to revert to an earlier version. Also, Liquibase provides database neutral way to perform create, update, and delete operations. Liquibase supports more than 30 different databases.
Liquibase is a java based application so before installing Liquibase, you will need to install java.
Java Installation
sudo apt install default-jreAfter executing the above command, execute java --version to verify if the installation is successful or not.
Liquibase Installation
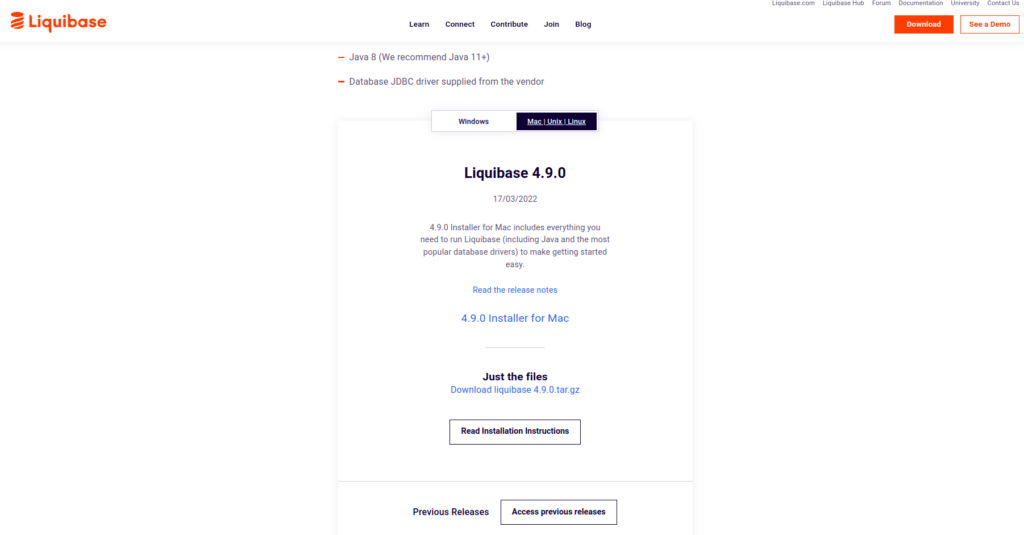
Step 1: Download liquibase from here.
Step 2: Extract the content of the downloaded file into your system.
Step 3: Add the directory in which you have extracted the liquibase to your system path
export PATH=$PATH:<path to liquibase installation>Step 4: Open a terminal and type liquibase --version to verify whether Liquibase has been installed successfully or not.
Step 5: Since we are using Liquibase with MySQL we need MYSQL JDBC Driver to connect to MySQL. Download it from here.
Liquibase With MySQL
Step 1: Create a folder name liquibase_test to keep all the liquibase change Log files and other connection property files.
Step 2: Place the MySQL JDBC Driver download in Liquibase Installation Step 5 into the liquibase_test/lib directory.
Step 3: Create a liquibase.properties file that contains information regarding your database.
driver=com.mysql.cj.jdbc.Driver
url=jdbc:mysql://localhost:3306/liquibase
username=root
password=root
Here,
driver: Specifies the driver class name for your target database. in our case, we need a MySQL driver
url: Specifies the URL of your target database
username: Specifies the username for your target database.
password: Specifies the password for your target database.
For more detailed information about liquibase.properties follow this link.
Step 5: Create a changelog file named dbchangelog.xml
<?xml version="1.0" encoding="UTF-8"?>
<databaseChangeLog
  xmlns="http://www.liquibase.org/xml/ns/dbchangelog"
  xmlns:xsi="http://www.w3.org/2001/XMLSchema-instance"
  xsi:schemaLocation="http://www.liquibase.org/xml/ns/dbchangelog
                      http://www.liquibase.org/xml/ns/dbchangelog/dbchangelog-3.1.xsd">
  <changeSet id="changelog-1.0" author="liquibase_test">
    <createTable tableName="test_table">
      <column name="id" type="int">
        <constraints primaryKey="true" />
      </column>
      <column name="name" type="varchar(255)" />
    </createTable>
  </changeSet>
</databaseChangeLog>
The changelog files are the root of all the Liquibase changes. Liquibase uses a changelog to sequentially list all changes made to your database. The changelog contains a record of all your database change also called changesets. Changesets are basically the SQL query you want to apply to the database. sets are units of work for Liquibase to apply. It is basically the SQL you want to apply to the database. The above sample changelog is written in XML format which consists of a single changeset that will create a table named liquibase_test with two columns:
id:This column is of integer type and a primary number.name:This column is of string type which can contain 255 characters.
The <changeSet> command in the above changelog file contains the information about the version of the changeset and the user who has added/modified that changeset.
Step 6: For executing Liquibase open a terminal and execute the below command:
liquibase --defaultsFile=<path to the liquibase.properties file> --changeLogFile=<path to the changelog file> updateThe above command generates the table and columns according to the changesets present in the Step 5 changelog file. After executing the Liquibase, you will see two new tables in your database named:
- DATABASECHANGELOG
- DATABASECHANGELOGLOCK
The DATABASECHANGELOG table contains a list of all the changes that have been run against the database and the DATABASECHANGELOGLOCK table is used to make sure two machines don’t attempt to modify the database at the same time.
Conclusion
In this article, you have learned how to install Liquibase and create changelogs that are necessary for Liquibase to work with MySQL.