

In this article , We will be discussing about the basics of react router and a tutorial on how to create a react app and routing through pages using react router dom.
What is React Router?
React Router is a fully-featured client and server-side routing library for React, a JavaScript library for building user interfaces. React Router runs anywhere React runs; on the web, on the server with node.js, and on React Native. React Router keeps your UI in sync with the URL. It has a simple API with powerful features like lazy code loading, dynamic route matching, and location transition handling built right in. It helps you to handle routes of your web applications. React Router is mainly used for developing Single Page Web Applications.
Lets take a brief introduction of the familiar terms that we will be using while working with react router.
BrowserRouter
A <BrowserRouter/> is a router component that uses the HTML5 history API (pushState, replaceState and the popstate event) to keep your UI in sync with the URL.This means that the BrowserRouter history library helps React Router keep track of the browsing history of the application using the browser’s built-in history stack. The <Routes> component is wrapped inside the BrowserRouter component.
import ReactDOM from 'react-dom'
import * as React from 'react'
import { BrowserRouter } from 'react-router-dom'


function App(){
return(
  <BrowserRouter>
    <Routes>
     // define routes path and its components
    </Routes>
  </BrowserRouter>
);
}
export default App;
Route
<Route/> allows a component to render when its predefined path matches the current URL. For example: if we want to display a Page1 component in /page1path then the route component in the App.js will be:
<Route path="/page1" element={<Page1/>} />We can render as many routes as we want. We can alse render nested routes, which we’ll discuss in the next article.
Routes
The <Routes/> replaces the <Switch/> component from react router v5. Routing helps to switch between the pages. It displays the page that is linked with the provided path in URL.
import {BrowserRouter , Routes, Route } from "react-router-dom";

function App() {
  return (
    <BrowserRouter >
        <Routes>
           <Route path="/" element={<Home />} />
           <Route path="/about" element={<About />} />
           <Route path="/contact" element={<Contact/>} />
       </Routes>
    </BrowserRouter>
  );
}
Link
<Link/> navigates the user to a certain path when clicked. The user can tell the webpage to go to a certain path using Link component.
  <Link to="/">Home</Link>
  <Link to="/about">About</Link>
  <Link to="/contact">Contact</Link>
Also Learn : React UseState and UseEffects
Lets create a simple 3 pages application to understand the concept of react-router.
Step 1 : Start by create-react-app and installing react-router v6 and then starting the app.
npx create-react-app tutorial-react-router
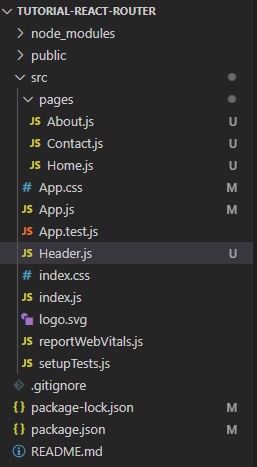
npm i react-router-dom@6Step 2 : Create 3 new files: Pages.js , Contact.js and Home.js inside pages folder and a Header component inside src folder. The project structure looks like:
Step 3 : Create a Header component that will be displayed in all pages.
import React from "react";
import { Link } from "react-router-dom";
import './App.css'

function Header() {
  return (
    <div className="header">
      <Link to="/">Home</Link>
      <Link to="/about">About</Link>
      <Link to="/contact">Contact</Link>
    </div>
  );
}

export default Header;
Step 4 : Style the header component (optional).
.header{
  display: flex;
  background-color: #f1f1f1;
  color: black;
  gap: 20px;
  justify-content: center;
  padding: 10px;
}
Step 5 : Add some content in the pages that we created. for this tutorial, I will be rendering just simple headings mentioning the page name.
// Home.js
import React from "react";

function Home() {
  return (
    <div>
      <h1>this is home page</h1>
    </div>
  );
}

export default Home;


// About.js
import React from "react";

function About() {
  return (
    <div>
      <h1>This is about page</h1>
    </div>
  );
}

export default About;

// Contact.js
import React from 'react'

function Contact() {
  return (
    <div>
        <h1>This is Contact page</h1>
    </div>
  )
}

export default Contact
Step 6 : Edit App.js folder to display header and define routes.
import "./App.css";
import { BrowserRouter, Link, Route, Routes } from "react-router-dom";
import Home from "./pages/Home";
import About from "./pages/About";
import Contact from "./pages/Contact";
import Header from "./Header";

function App() {
  return (
    <div className="App">
      <BrowserRouter>
      <Header/>
        <Routes>
          <Route path="/" element={<Home />} />
          <Route path="/about" element={<About />} />
          <Route path="/contact" element={<Contact />} />
        </Routes>
      </BrowserRouter>
    </div>
  );
}

export default App;The landing page looks like:
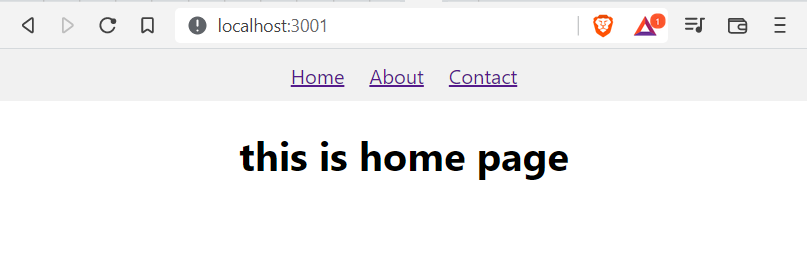
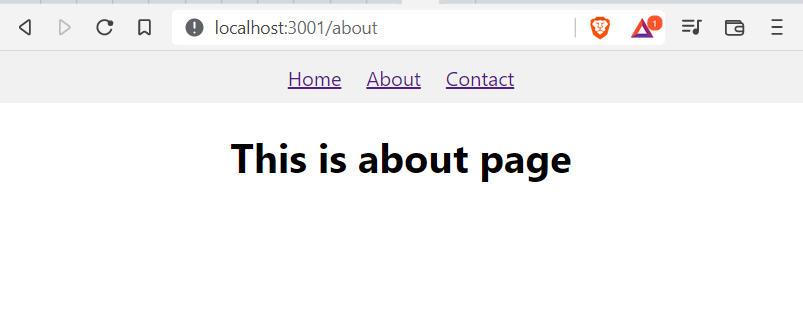
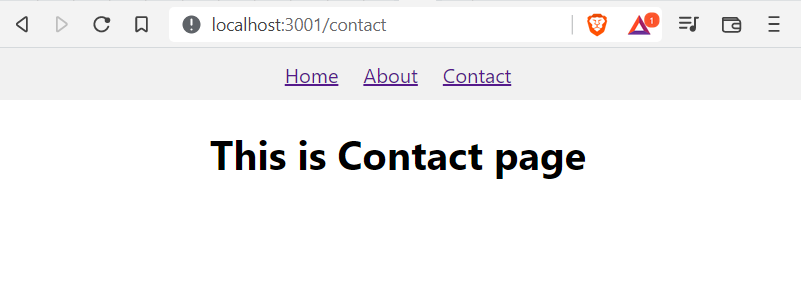
We can click the links in the Header and the corresponding pages will render. If the URL is / , Homepage will appear. If URL is /about , About page will appear. and if URL is /contact , Contact page will appear because we can defined such paths with their elements in the App.js.
Conclusion
In this article, we discussed about the basic terms of the react router. We created a simple react app to navigate through the pages to understand the concepts of BrowserRouter ,Routes ,Route and Link.