

What is Server Side Rendering (SSR) ?
Server side rendering(SSR) is the process of loading your website’s JavaScript on your own server instead of rendering it in client side(browsers). This allows the dynamic components of the web page to be served as static HTML markup. It is useful for Search Engine Optimization (SEO).
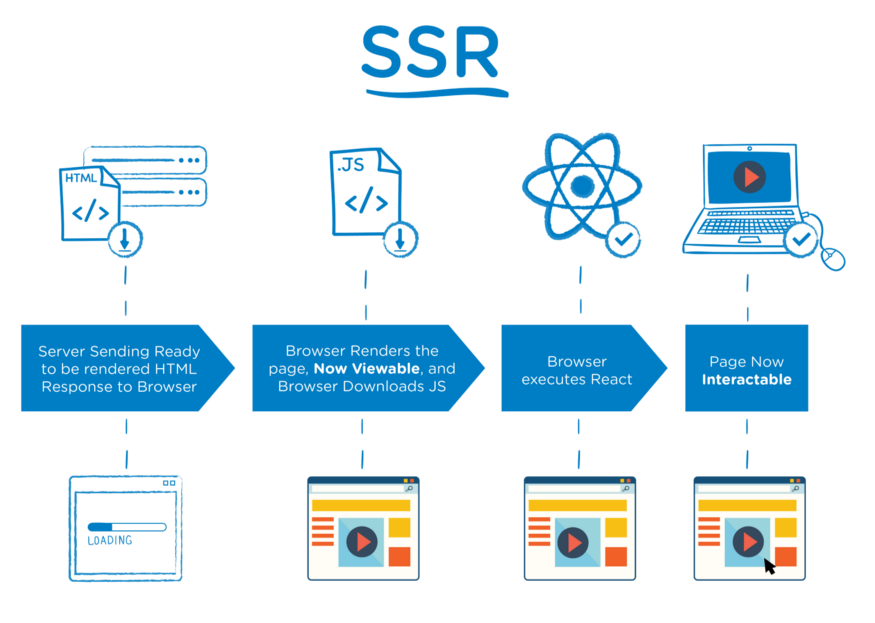
In Server Side Rendering, when we render a web page, the server generates the html response to the browser. The user can view the basic structure of a web page while the browser downloads JS and executes React. Now, the page is interactable and the user can use the functionalities of the web page.
How does it differ from Client Side Rendering(CSR)?
Client Side Rendering(CSR) means the browser renders the content of the web page using the client side JavaScript. In Client Side Rendering, when a user requests a server to load a web page, the server sends the request to the browser. the browser then loads the JavaScript and executes react and displays a interactable page to the user.

How Next.js supports SSR?
By default, Next.js pre-renders every page. This means that Next.js generates HTML for each page in advance, instead of having it all done by client-side JavaScript. Pre-rendering can result in better performance and SEO.
Each generated HTML is associated with minimal JavaScript code necessary for that page. When a page is loaded by the browser, its JavaScript code runs and makes the page fully interactive. (This process is called hydration.)

Two forms of pre-rendering
Next.js has two forms of pre-rendering: Static Generation and Server-side Rendering. The difference is in when it generates the HTML for a page.
- Static Generation: The HTML is generated at build time and will be reused on each request.
- Server Side Rendering(SSR): The HTML is generated on each request.
In this tutorial, we will create a new Next.js application with SSR.
So Let’s Begin.
Create a new Next.js app using ‘create-next-app’ which sets up working environment with everything ready for you.
npx create-next-app my-ssr-appAfter completion of the installation of the next project, you can run the project using the command
cd my-ssr-app
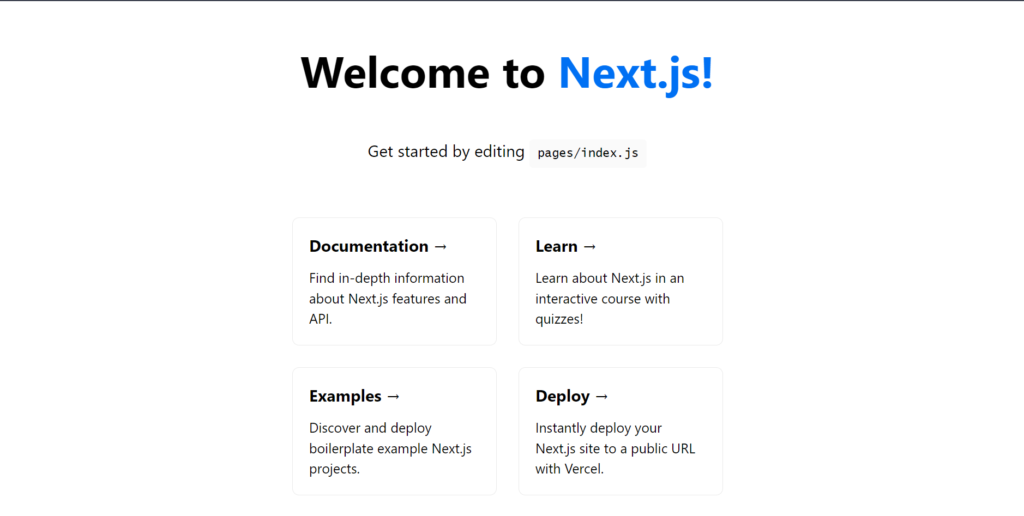
npm run devwe can checkout our application at http://localhost:3000/ , the landing page looks like:
Now, lets update this page by making changes in the index.js file inside pages folder our project. The index.js is the homepage of our project. In this tutorial, we are developing a simple app to fetch the list of users.
for this, we are using axios for api calls and a dummy api to get some data.
To install axios, run a command:
npm i axiosWe will be using getServerSideProps.If you export a function called getServerSideProps (Server-Side Rendering) from a page, Next.js will pre-render this page on each request using the data returned by getServerSideProps.
export async function getServerSideProps(context) {
  return {
    props: {}, // will be passed to the page component as props
  }
}
Note: Everything inside getServerSidePropswill run on server.
Now we are going to fetch the data of users inside getServerSideProps and pass the data to the main function as props and display the name of the users in a list.
import axios from 'axios'

export async function getServerSideProps(){
  const response = await axios.get("https://jsonplaceholder.typicode.com/users")
  const data = await response.data
  return{
    props: {
      usersData: data
    },
  }
}

export default function Home({usersData}) {
  return (
    <div className={styles.container}>
        <h1>List Of Users: </h1>
        {usersData.map(item=>(
        <li>{item.name}</li>
        ))}
    </div>
  )
}
The output looks like this:

Now, to make sure that this data is being generated in the Server side, go the the web page and click right button and go to View Page Source:

We can see that the name of the users are displayed with their <li> tag in the html format.
Summary
We made a simple web page using Next.js and rendered a list of name of the users on server side. Pre-rendered HTML pages comes up for each page on browser. You can learn more about Next.js here.