

In this tutorial, we will see how to deploy a NextJS app to Netlify. Netlify is a remote-first cloud computing company that offers a development platform that includes build, deploy, and serverless backend services for web applications and dynamic websites.
Prerequisites
- An existing NextJS project.
You can simply deploy a NextJS app to netlify by following the steps below:
Step 1: Install Netlify Plugin
We need to install the plugin-nextjs dependency from netlify to our NextJS project.
npm i @netlify/plugin-nextjsStep 2: Create netlify.toml File
Now, create a netlify.toml file in your root directory and add the following code to that file.
[build]
  command = "npm run build"
  publish = ".next"

[[plugins]]
  package = "@netlify/plugin-nextjs"
Step 3: Create a New Repository in Github/ GitLab / Bitbucket
You need to create a new repository for your NextJS project in one of the GitHub or GitLab or Bitbucket. I will be choosing GitHub for this tutorial.
Step 4: Push Your Code to Git Repository
Now, We need to push our project to the remote git repository. You can simply push your codes by writing the following commands in the terminal.
git init
git add .
git commit -m "first commit"
git branch -M main
git remote add origin https://github.com/username/project_name.git
git push -u origin main
Step 5: Create a Netlify Account
We need to have a Netlify account to deploy the app to Netlify. We can go to https://app.netlify.com/signup to create a netlify account.
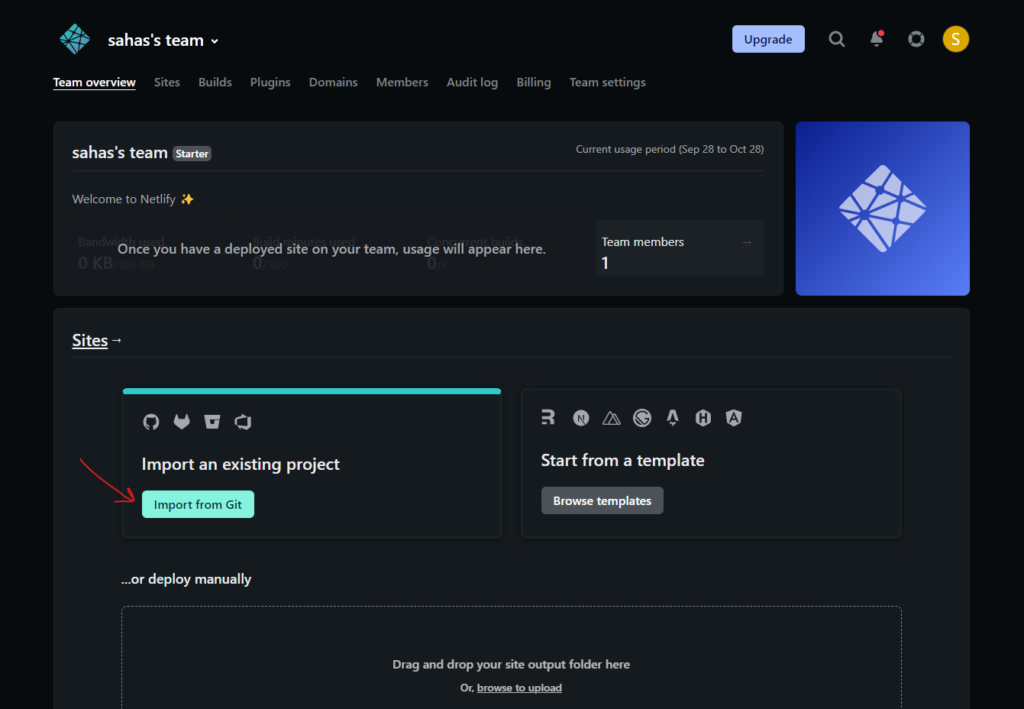
After logging in to Netlify, we can see a dashboard. We need to deploy an existing project so click on the Import from Git button.
Step 6: Connect to Git Provider
Now, we need to connect to the git provider that contains our project repository. In this tutorial, I have saved my repository in GitHub so I will be choosing GitHub.

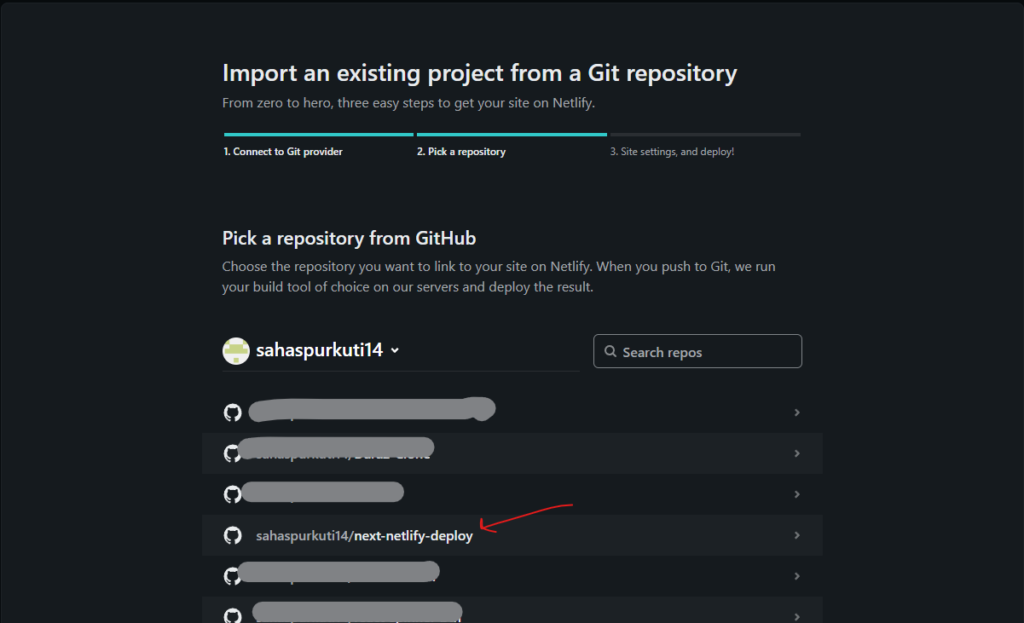
Step 7: Pick a Repository
We now need to choose a repository that we want to deploy on Netlify. The deployed site will build with the latest changes automatically whenever we push the code to the git.
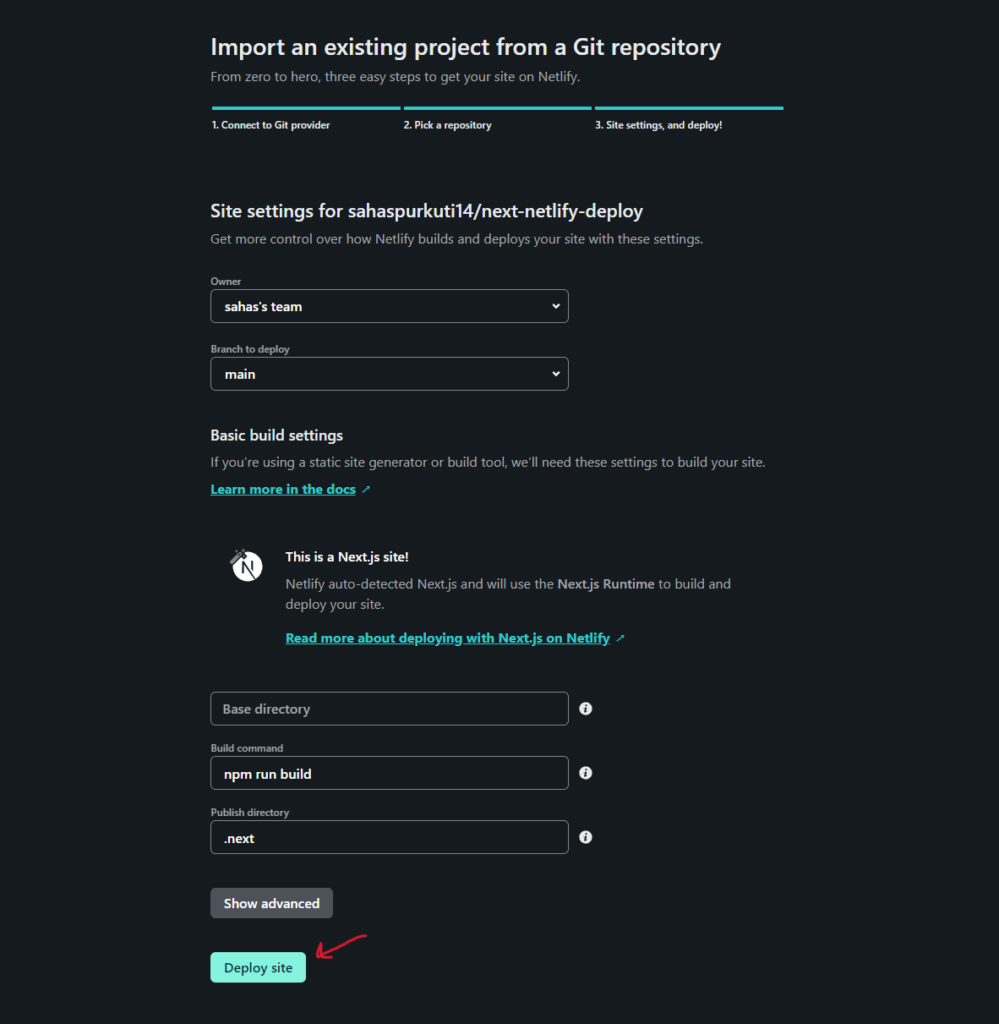
Step 8: Deploy Site
This is the final step to deploy the site. Here, we can edit site settings. The netlify.toml configuration file that we created in the beginning automatically sets the site settings. So, without making any changes here, click on the Deploy site button.
Now, we need to wait till Netlify finishes the build and deployment of our site.
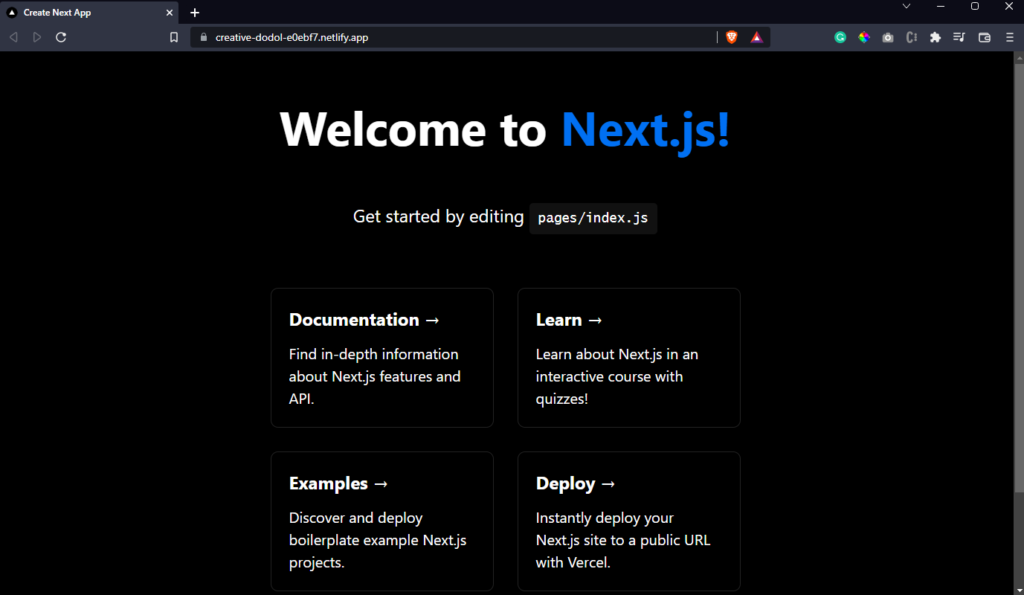
After the deployment is complete you can see the deployed status.
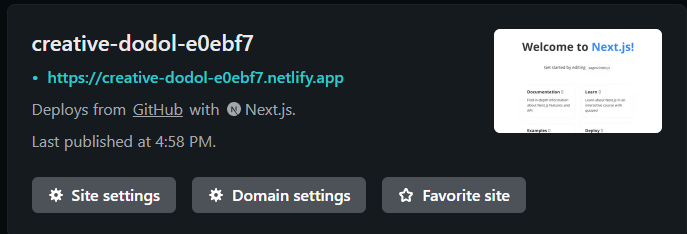
You can see the deployed site by following the link provided there.
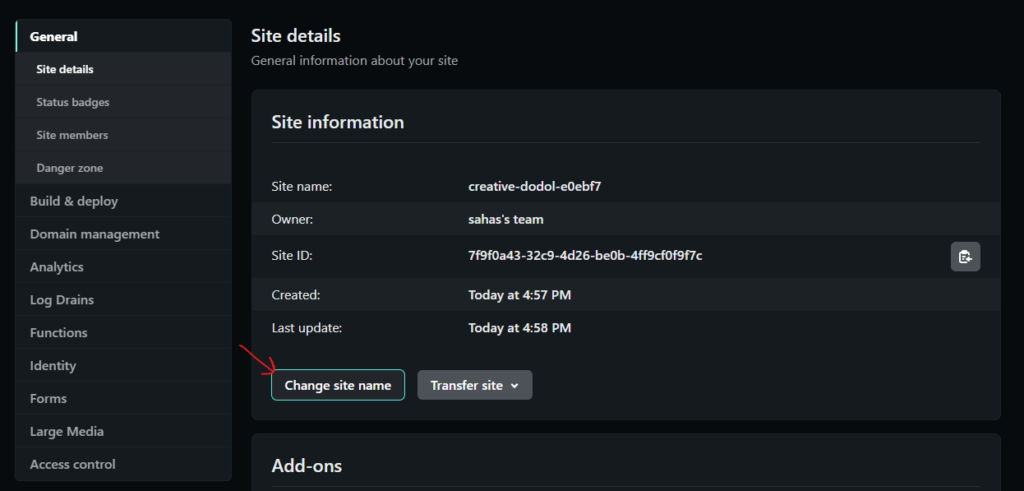
Change Site Name
We can also change the name of the site to our preferred name like mysite.netlify.app. For this, go to the Site settings of your deployed site. Then click on the Change site name button.
A popup screen appears. There you can edit the current site name to your preferred name. Then click on the Save button.
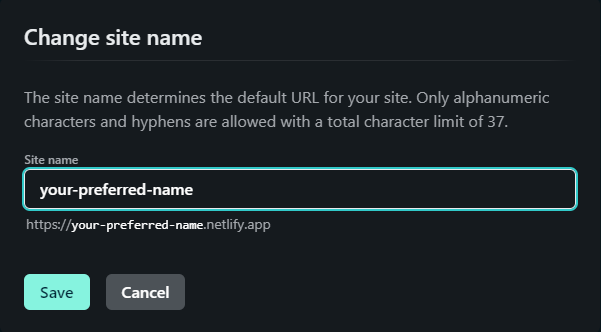
Then you can visit your site through https://your-preferred-name.netlify.app.
Conclusion
In this tutorial, we discussed how to deploy a NextJS app to Netlify. We deployed a simple NextJS app to netlify and changed the site name with our preferred site name.