

In the previous article, we discussed the basic concepts of micro frontends. We understood that Micro frontends is an architectural approach to frontend development with the idea of thinking of a project as a collection of features that different teams can independently own. Today, we will be working on a tutorial on the basic setup of micro frontends. We will be creating a host page and two different modules. We will be using module federation architecture which allows the sharing of code and dependencies between two different application codebases.
Step 1: Create Three Different React Projects (Micro Frontends)
npx create-mf-app
Step 2: Go to Folder and Install Node Modules
cd host
npm install
npm start
Repeat this step for all the modules.
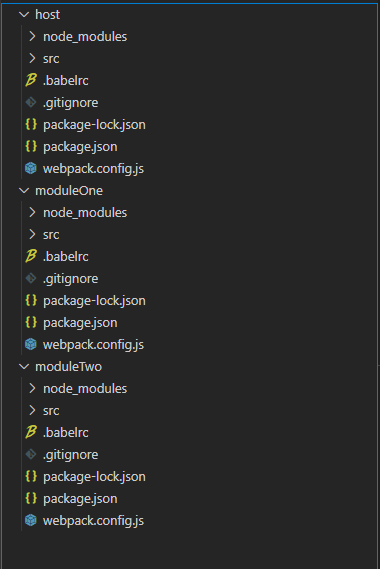
After installing node modules with npm install of all the modules.The explorer looks something like this:
on npm start:
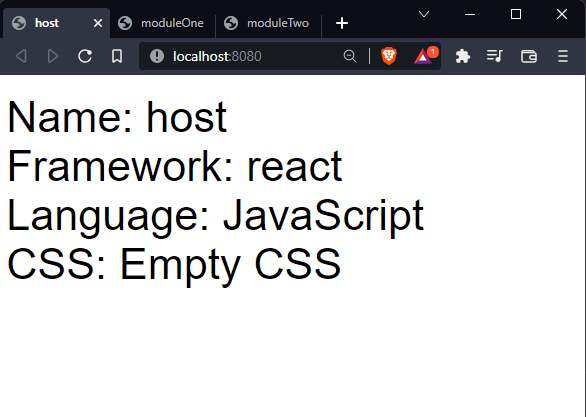
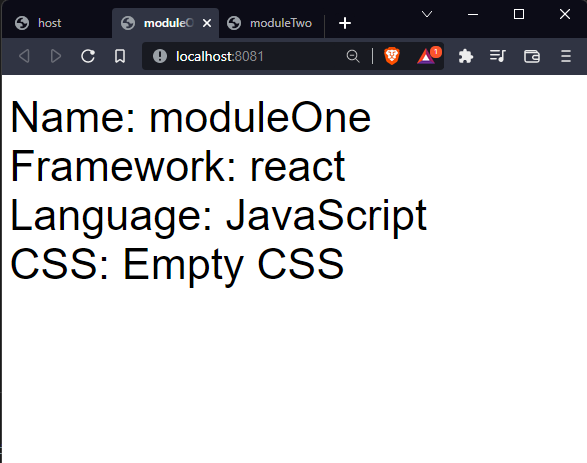

The landing page shows the details that we chose while setting up the module federation app.
Step 3: Create Components
Now we create components on module apps that we will consume in host page later on.
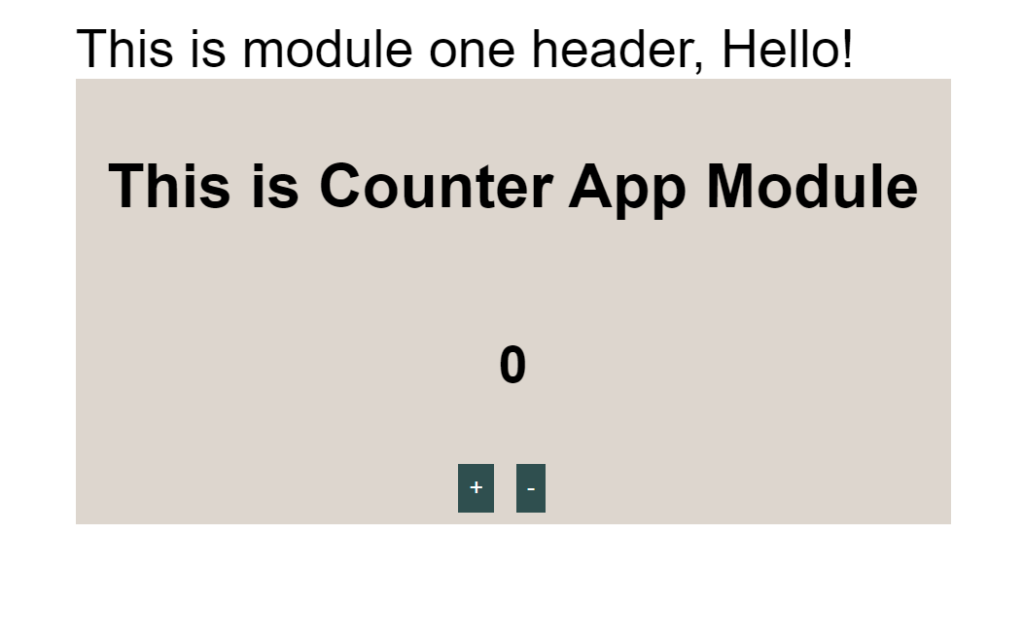
First lets create a simple counter app with some styling using CSS in moduleOne app.
Create Counter.js file in moduleApp
Counter.js
import React, { useState } from 'react'
import './style.css'

function Counter() {
    const [count, setCount] = useState(0);
    const handleIncrement = () => setCount(count + 1);
    const handleDecrement = () => setCount(count - 1);
  return (
    <div className='counter'>
        <h3>This is Counter App Module</h3>
        <p><strong>{count}</strong></p>
        <div>
        <button onClick={handleIncrement} className='counter-btn'>+</button>
        <button onClick={handleDecrement} className='counter-btn'>-</button>
        </div>

      </div>
  )
}

export default Counter
Import Counter in App,js of moduleOne.
import React from "react";
import ReactDOM from "react-dom";
import Counter from "./Counter";

import "./index.css";

const App = () => (
  <div className="container">
    This is module one header, Hello!
    <Counter/>
  </div>
);
ReactDOM.render(<App />, document.getElementById("app"));
Output
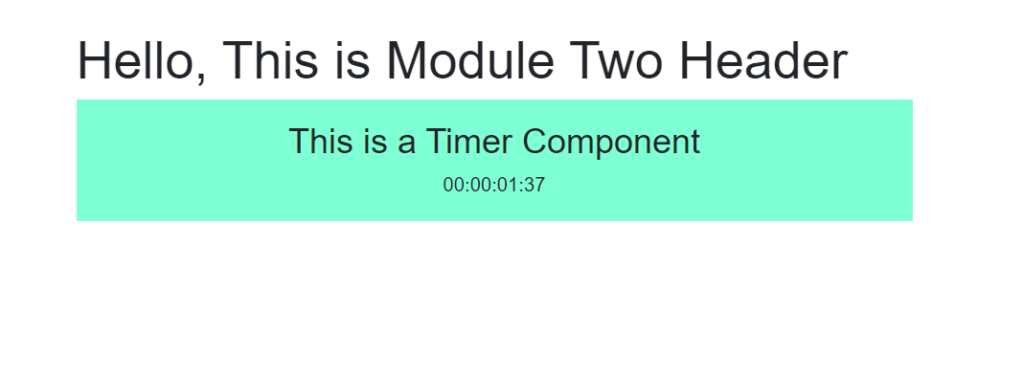
Now Lets create a timer component in moduleTwo using react-countdown
Timer.js
import React from 'react';
import "./style.css";
import Countdown from 'react-countdown';

function Timer() {
  return (
    <div className="custom">
        <Countdown date={Date.now() + 100000} />
    </div>
  )
}

export default Timer
Import Timer.js in app.js of moduleTwo
App.js
import React from "react";
import ReactDOM from "react-dom";
import 'bootstrap/dist/css/bootstrap.min.css';

import "./index.css";
import Timer from "./Timer";

const App = () => (
  <div className="container">
    Hello, This is Module Two Header
    <Timer/>
  </div>
);
ReactDOM.render(<App />, document.getElementById("app"));
Output
We have created two components Counter and Timer from two different modules. Now, lets merge these components in the host page.
Step 3: Edit webpack.config.js
The most of the works are done in webpack.config.js files.
Webpack is a static module bundler for modern JavaScript applications.It helps to create different individual builds or modules from a single app. It compiles JS modules and creates dependency graph that consists of all the modules that our app requires. These modules comes from the node modules folder that are turned into a single JS file by Webpack.
Lets start from the moduleOne’s webpack.config.js
  plugins: [
    new ModuleFederationPlugin({
      name: "moduleOne",
      filename: "remoteEntry.js",
      remotes: {},
      exposes: {
        "./Counter":"./src/Counter.js"
      },
      shared: {
        ...deps,
        react: {
          singleton: true,
          requiredVersion: deps.react,
        },
        "react-dom": {
          singleton: true,
          requiredVersion: deps["react-dom"],
        },
      },
    }),
    new HtmlWebPackPlugin({
      template: "./src/index.html",
    }),
  ],
Here, name is the unique name for the exposed container. It will be used as the file name for the container’s relative path.
filename is used to specify the file name for the output bundle. It is considered the local chunk in the remote repository that stores the remote entry files from its module.
remote is a list of static remote modules that can be accessed by the local module.
exposes is the path to the module or files exposed by the container and that can be consumed by other modules.
shared allows us to share the node libraries which the exposed module needs to run.
Similarly, in the moduleTwo webpack.config.js
 plugins: [
    new ModuleFederationPlugin({
      name: "moduleTwo",
      filename: "remoteEntry.js",
      remotes: {},
      exposes: {
        "./Timer" : "./src/Timer.js"
      },
      shared: {
        ...deps,
        react: {
          singleton: true,
          requiredVersion: deps.react,
        },
        "react-dom": {
          singleton: true,
          requiredVersion: deps["react-dom"],
        },
      },
    }),
    new HtmlWebPackPlugin({
      template: "./src/index.html",
    }),
  ],
Now, in the host webpack.config.js
plugins: [
new ModuleFederationPlugin({
name: "host",
filename: "remoteEntry.js",
remotes: {
moduleOne:"moduleOne@http://localhost:8081/remoteEntry.js",
moduleTwo:"moduleTwo@http://localhost:8082/remoteEntry.js"
},
exposes: {},
shared: {
...deps,
react: {
singleton: true,
requiredVersion: deps.react,
},
"react-dom": {
singleton: true,
requiredVersion: deps["react-dom"],
},
},
}),
new HtmlWebPackPlugin({
template: "./src/index.html",
}),
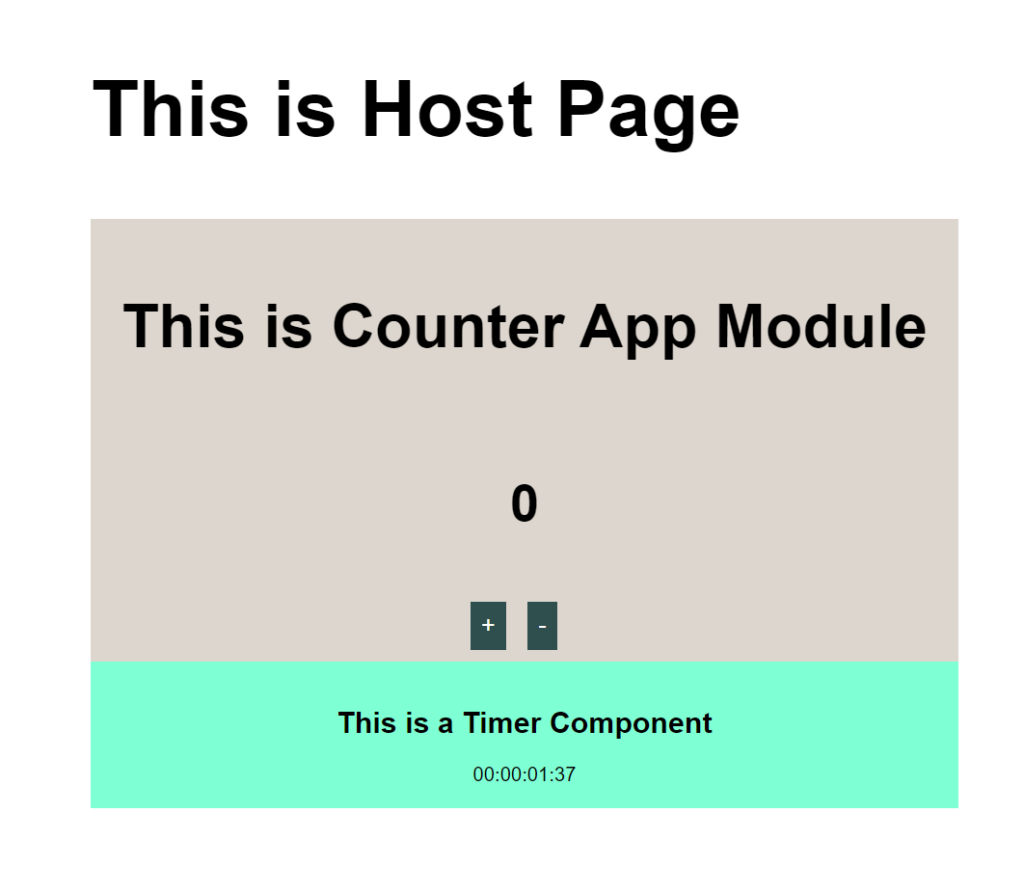
],Now import the components in host App.js
import React from "react";
import ReactDOM from "react-dom";
import Counter from 'moduleOne/Counter';
import Timer from 'moduleTwo/Timer';

import "./index.css";

const App = () => (
  <div className="container">
    <h2> This is Host Page </h2>
    <Counter/>
    <Timer/>
  </div>
);
ReactDOM.render(<App />, document.getElementById("app"));
Output
Conclusion
In this tutorial, we learned how to setup a basic micro frontends app. Here, we created components from different modules and consumed it in the host page using webpack module federation method.