

Let’s learn how to serve API written in OpenAPI format using redoc in docker.
Introduction
Redoc is an open-source documentation generator based on OpenAPI standards.
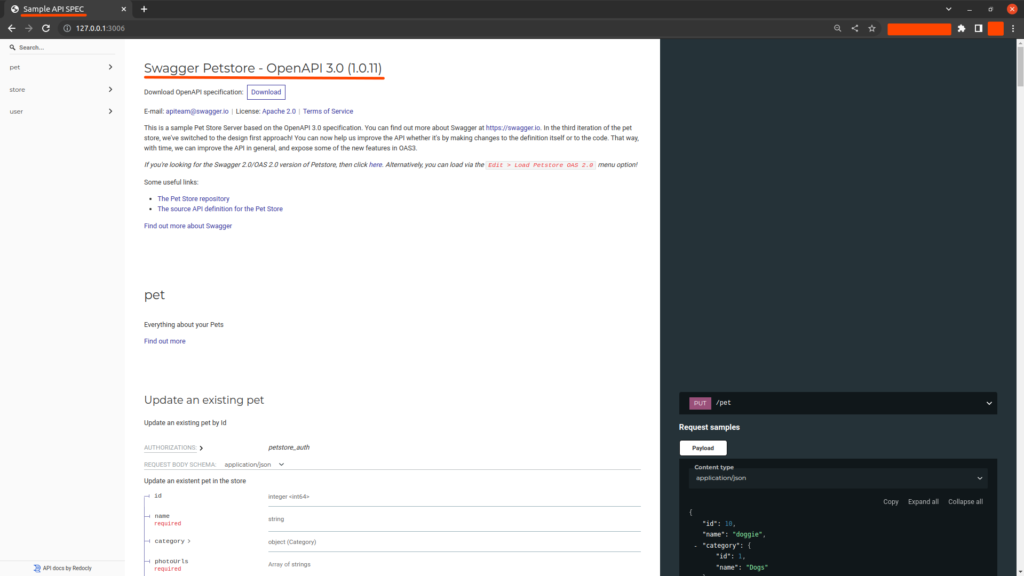
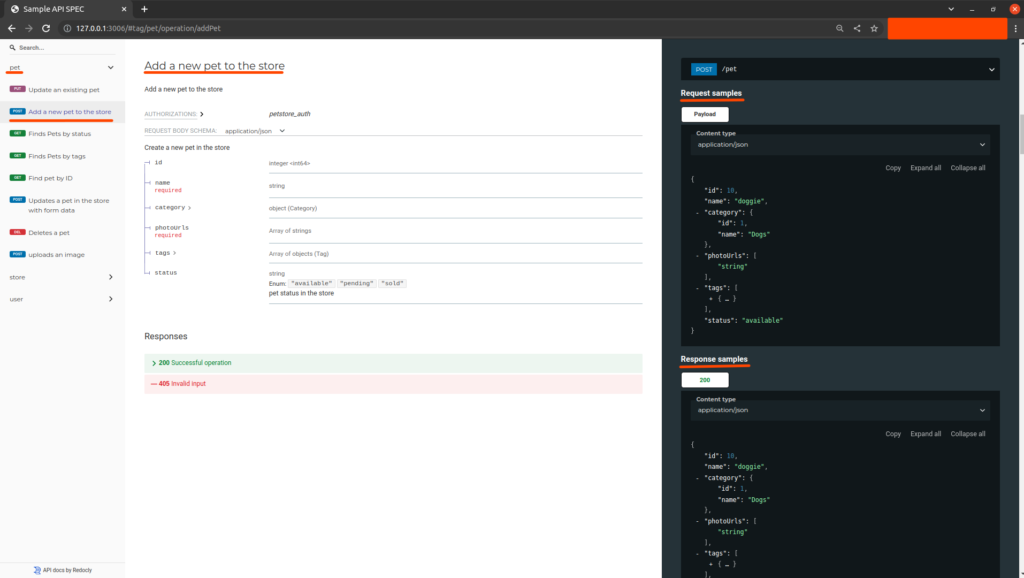
Redoc comes with a three-panel, responsive layout by default. Following are the three pannels provided by Redoc.
- A search bar and navigation menu are located on the left panel.
- The documentation is located on the center panel.
- The right panel offers examples of requests and responses.
So, let’s how to serve API written in OpenAPI format using redoc in docker.
Prerequisites
Serve API Written in Openapi Format Using Redoc in Docker
Creating the application
Firstly, create a folder and initialize it as a node application.
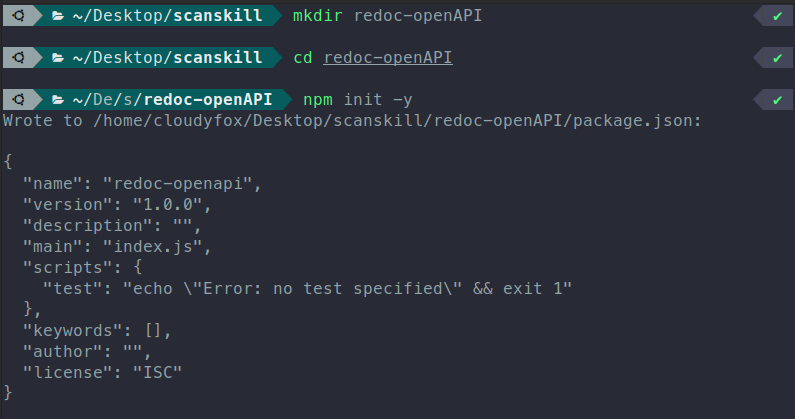
$ mkdir redoc-openAPI

$ cd Redoc-OpenAPI

$ npm init -y
Now that the node application is created, let’s add a node package that enables us to create a server.
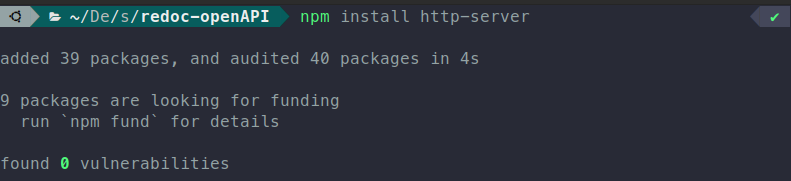
The package we used was http-server, it allows you to create a server without any code configuration. It rather is configured more easily than the express server.
Start Script package.json
Now that the http-server package is added, we need to create a start script, to start the server and serve our redoc page. The start script is given in the package.json file which is given below.
{
  "name": "redoc-openapi",
  "version": "1.0.0",
  "description": "",
  "main": "index.js",
  "scripts": {
    "start": "http-server -p 3006 -f /index.html"
  },
  "keywords": [],
  "author": "",
  "license": "ISC",
  "dependencies": {
    "http-server": "^14.1.1"
  }
}
The start script is http-server -p 3006 -f /index.html, let’s see what this code does.
-fforwards the desired file which in our case is index.html
-pruns the server on the desired port which in our case is port 3006.
Now, that everything is setup let’s create the index.html file and open-API.yaml.
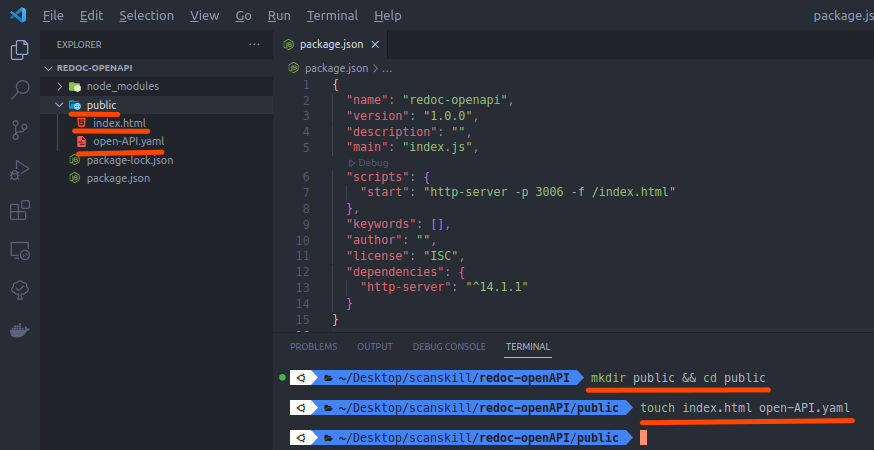
Finally, copy the open API code and paste it into the code on the open-API.yaml file we created.
Index file
Now in the index.html file copy and paste the code below.
<!-- index.html -->

<!DOCTYPE html>
<html>
  <head>
    <title>Sample API SPEC</title>
    <meta charset="utf-8"/>
    <meta name="viewport" content="width=device-width, initial-scale=1">
    <link href="https://fonts.googleapis.com/css?family=Montserrat:300,400,700|Roboto:300,400,700" rel="stylesheet">
    <style>
      body {
        margin: 0;
        padding: 0;
      }
    </style>
  </head>
  <body>
    <redoc spec-url="./open-API.yaml"></redoc>
    <script src="https://cdn.redoc.ly/redoc/latest/bundles/redoc.standalone.js"> </script>
  </body>
</html>
Since the application is configured, let’s start the application to check if the code is running by running the script npm start.
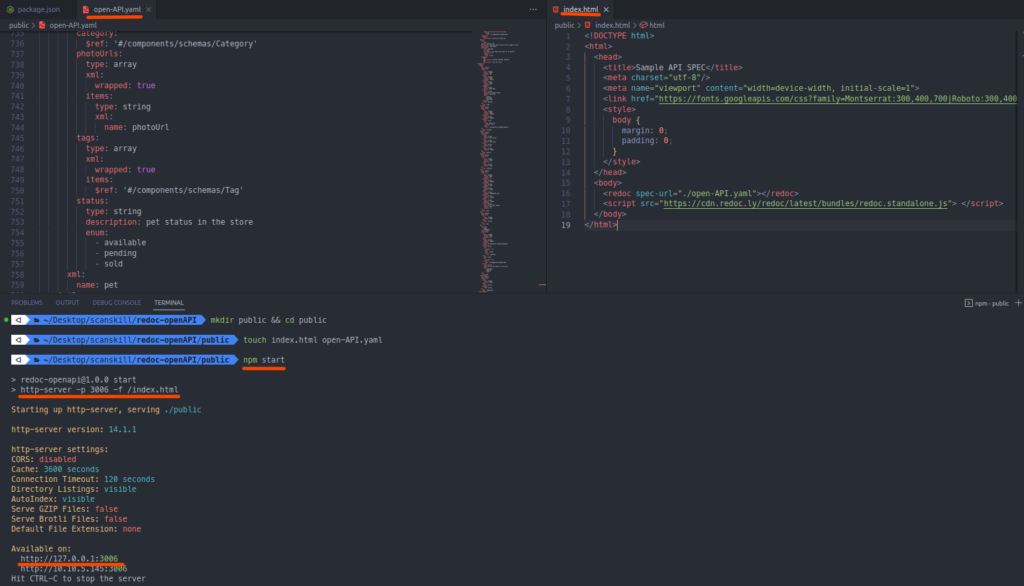
Starting the application with the start script we created in the package.json file. So, let’s look at the result we received from this.
Also, now that the OpenAPI is appropriately served, let’s wrap it inside a docker container. So, we have reached the halfway point to serve API written in openAPI format using redoc in docker, let’s check how to deploy it in docker now.
Dockerizing Redoc
Now that the application is running normally, let’s go to the next step which is to dockerize our application.
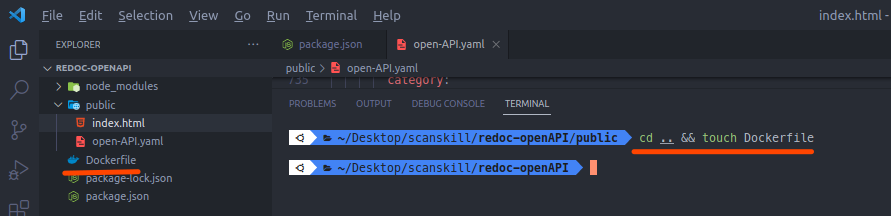
Now, that the Dockerfile is created, let’s put the docker code below on it and save it.
# Dockerfile

FROM node:16-alpine

WORKDIR /app

COPY package*.json ./

RUN npm install

# Bundle app source
COPY . .

EXPOSE 3006

CMD [ "npm", "run","start" ]
For learning about how the above file works while wrapping the node application, look into our article on How to Dockerize Node.js application, the docker code is explained in detail there.
Now let’s build the docker container, by using the command below.
$ docker build -t redoc-docker .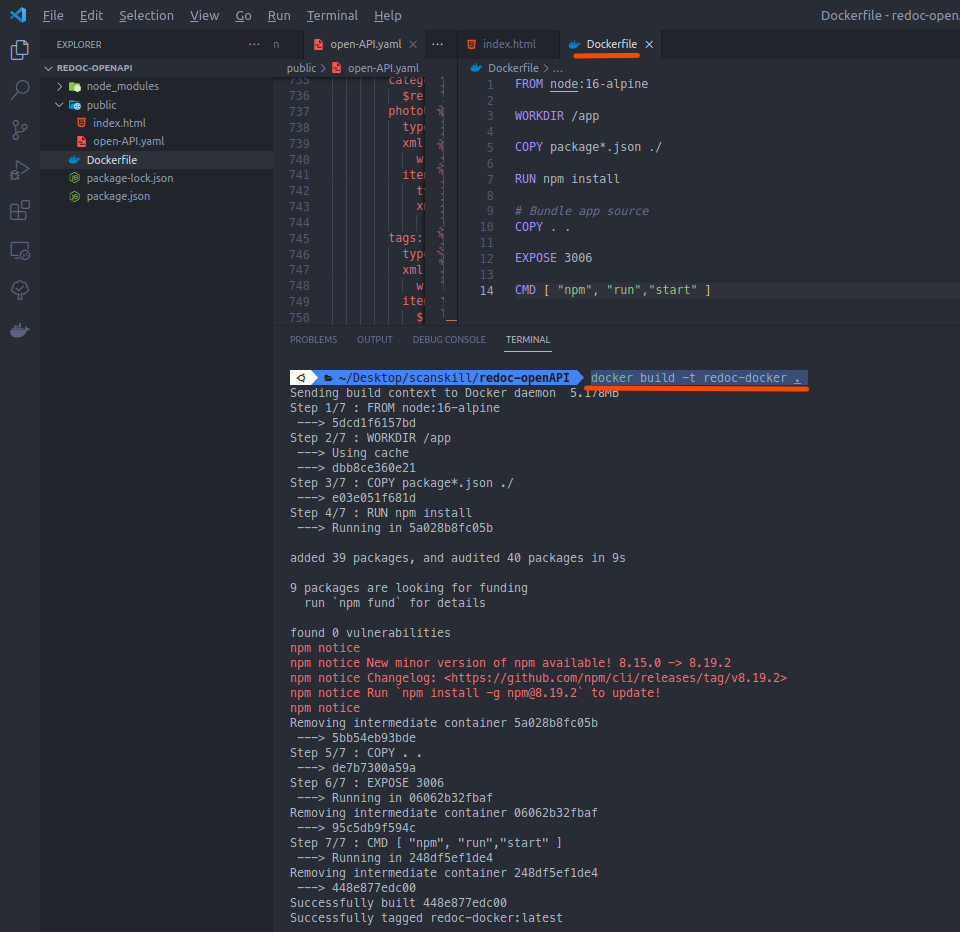
Since now that the docker container is built. Let’s run the docker container. So, to run it follow the command below.
$ docker run --name redoc-docker -d -p 3006:3006 redoc-docker
Now, let’s go the http://localhost:3006, and check if the response is the same as that of the one that was received from redoc.

Finally, we see that the result is the same as that of deployed through the http-server in the local machine.
Conclusion
So, in this article, we learned about how to serve API written in OpenAPI format using redoc in docker. We saw how redoc is used to deploy OpenAPI-based documentation using http-server, and finally dockerizing it. Another approach is using the Express application to deploy the API specification using swagger, for more on this you can refer to this article.