This article is the continuation of the two-part series on JWT. The first article can be read here. The article had talked in brief about what JWT was, its application areas of JWT’s when to use it, the benefits of using it, and finally the explanation of the structure of JWT.
Knowing what, and how is equally important. So, in this second part article, we will see the application part of JWTs. It includes topics like how JWT is created, how it is signed, how its structure looks like, how to set expiration time, and how it is validated. This means how to implement JWT in Node.js
Implementation of JWT in Node.js
Step 1: Project Setup
Creating a Project
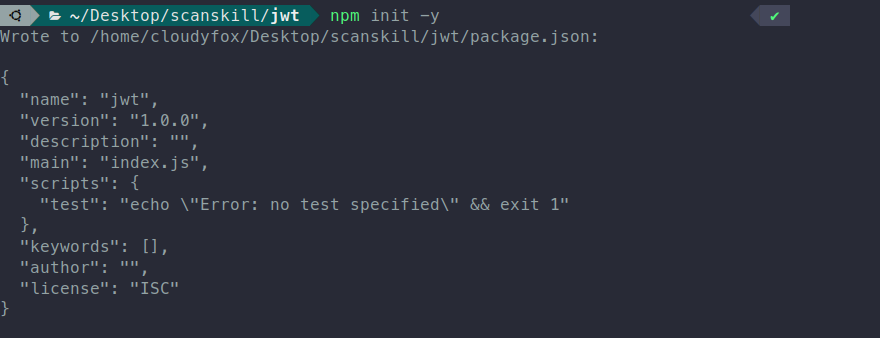
npm init -y
Adding Dependencies
npm i jsonwebtoken
Creating the main file and opening it in your favorite code editor
# creating main file
touch index.js
code .
Step 2: Writing Code
Initial code
const jwt = require("jsonwebtoken");
const secretKey = "scanskill123";


let userObj = {
  id: "klo23kshkshfi245",
  email: "example@example.com"
};

let token = jwt.sign(userObj, secretKey);   //signing the object to form a encrypted JWT

const validity = jwt.verify(token, secretKey);  //decrypting the token to get signed object from the encrypted JWT

console.log(token);
console.log(validity);
Explanation of the code:
The secretKey is a key used to sign the jwt token, and should be kept as a secret. Its uses are for signing and validating the previously signed token. The userObject contains a JSON object that is to be signed. jwt.sign(userObj, secretKey) function signs the userObj against the secretKey that has been set. The validity variable contains decrypted token if it comes out to be valid against the secretKey, which is checked by jwt.verify(token, secretKey) function which compares the token against the secret key which was used to sign it.
Output
If the sent token is valid, the output sent out is a signed token and the validity variable containing decrypted token is valid.

Now, tampering with the token by adding a character to the token, before verifying it.
let userObj = {
  id: "klo23kshkshfi245",
  email: "example@example.com"
};
let token = jwt.sign(userObj, secretKey);

token += "s";

const validity = jwt.verify(token, secretKey);
// console logging like previously
Now the token is not valid so the error of invalid signature is thrown.

Step 3: Adding expiration time to the JWT
Modifying the code
const jwt = require("jsonwebtoken");
const secretKey = "scanskill123";

const userObj = {
  id: "klo23kshkshfi245",
  email: "example@example.com"
};

let token = jwt.sign(userObj, secretKey, {
  expiresIn: 120 // it will be expired after 120 millisecond
  // expiresIn: "20d" // it will be expired after 20 days
  // expiresIn: "10h" // it will be expired after 10 hours
  // expiresIn: "120s" // it will be expired after 120s
}); // Expires in 120ms

setTimeout(()=>{  // Setting a delay of 1 second before checking the validity of the token
  const validity = jwt.verify(token, secretKey);
  console.log(validity);
}, 1000);

console.log(token);
Explanation of the code:
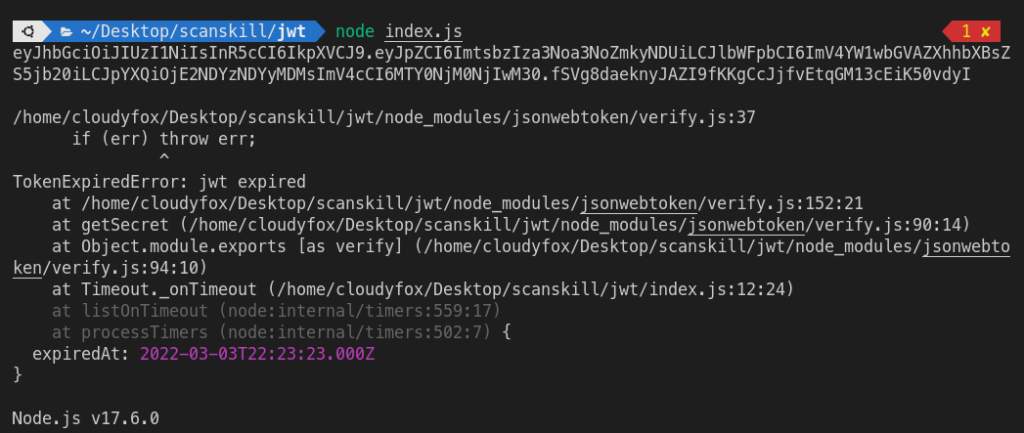
The jwt.sign() function takes an object as a parameter that contains expiresIn which defines the validity of the signed token. In the above example, the signed token is valid for 120 milliseconds. The jwt.verify() is present inside the setTimeout which pauses for 1 second before running the verify function. During the one-second pause, the token of 120ms validity is already expired. So the code throws TokenExpiredError: jwt expired error. The token should have expired time in the case where it is used for authentication.
Output

Conclusion
This concludes the two-part series on an introduction to JWT and its implementation in Node.js. In this article, we saw how jwt is implemented using the jsonwebtoken package. We saw and implemented how the token is signed, verified, and finally how expiration time is set up while signing the token. The JWT is used for authentication, likewise, authentication can also be done through other approaches like Google OAuth, Single Sign-On, etc.
