Let’s learn how to create and publish an npm package on npmjs.com.
Introduction
npm is a JavaScript package manager developed by npm, Inc. The Node.js JavaScript runtime environment’s default package manager is npm. It consists of a command line client, often known as npm, and the npm registry, an online database of public and paid-for private packages.
So, let us see how to create and publish an npm package.
Prerequisites
Creating a package
Let’s look at creating a package that takes in a string and gives out two values, they are:
- Lowercase
- Uppercase
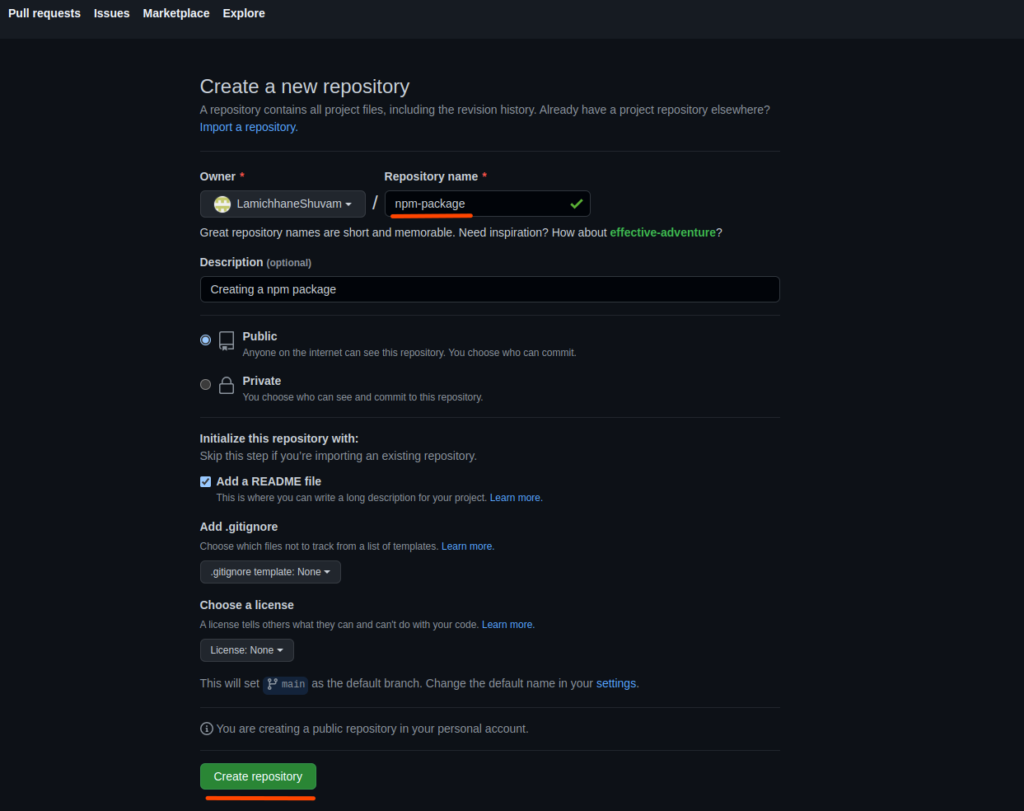
The function within our package will take in a string and will return a Lowercase and an Uppercase value of the same string. But before starting to create an npm package let’s create a git repository.
Initializing a git repository

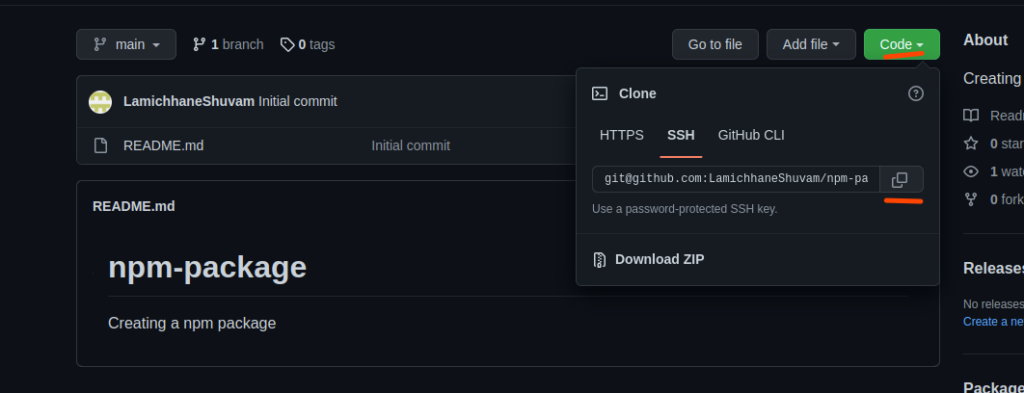
Now, that we have created a git repository let’s clone the repository in our local machine.

Clone and open the folder with the code editor of your choice

after that initialize the project using the npm init command.

As we have given the entry point to the application as index.js, create the same file here.
After that is done let’s get started with writing the code that converts the given string into lower and uppercase.
// index.js

function stringTransformer(string) {
  return {
    lowercase: string.toLowerCase(),
    uppercase: string.toUpperCase(),
  };
}

module.exports = stringTransformer;
So now, that the code is written the package how do we test this, to solve this issue we are going to use the command npm link in the current directory which contains the npm package we created.

now let’s create another node project to test the code out.

Now, that the test-npm-package project is created, open it with a code editor. Now the problem is how do we use our created npm package, which is present in our local machine. For that, we will be using npm link, again but this time it will be used to install the package we created locally.

//* index.js of test-npm-package project

const stringTransformer = require("npm-package");

console.log(stringTransformer('HeLlO WoRlD!'));
Finally, let’s run the test-npm-package application and look at the results.

So we have successfully created an npm package and, tested it on our local machine. But our goal is to create and publish an npm package, we are still missing the publishing part. So, let’s look at publishing next, to achieve the goal to create and publish an npm package.
Publishing the package
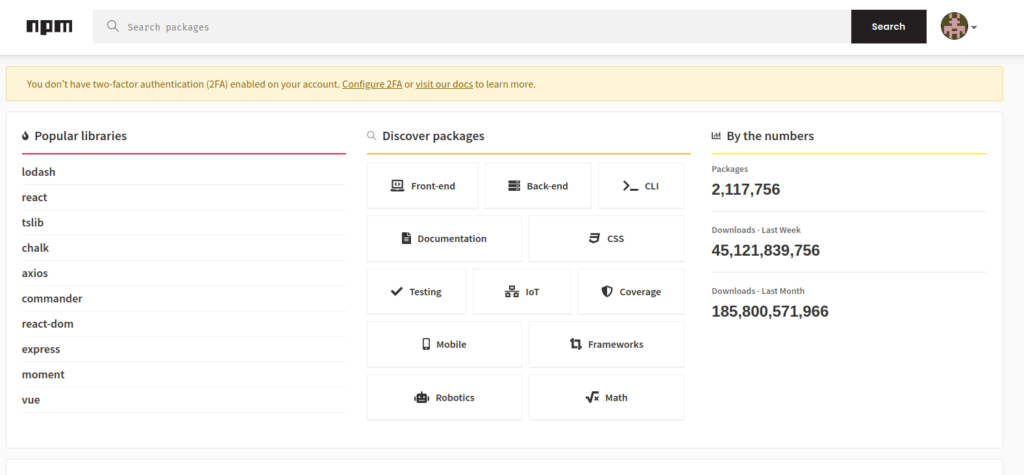
To publish the created package, you need an account on the npmjs site, then log in.

Now, check if the name of the package already exists.

we are going to name the package as, npm-package-string-transformer as the name is not taken. For that, we need to update the name of the package.json file to the above name.

Now, that the package name is decided let’s publish our package. For publishing the package follow the steps below.
npm login
Login to your npm account through the terminal by writing npm login on your terminal, as shown in the image below.
$ npm login
Now that you have logged in, let’s checkout a package is published.
npm publish
To publish your package, in the terminal write npm publish, it will publish your package to the npm repository if the name is available. An example of this is given below in the form of images.
$ npm publish
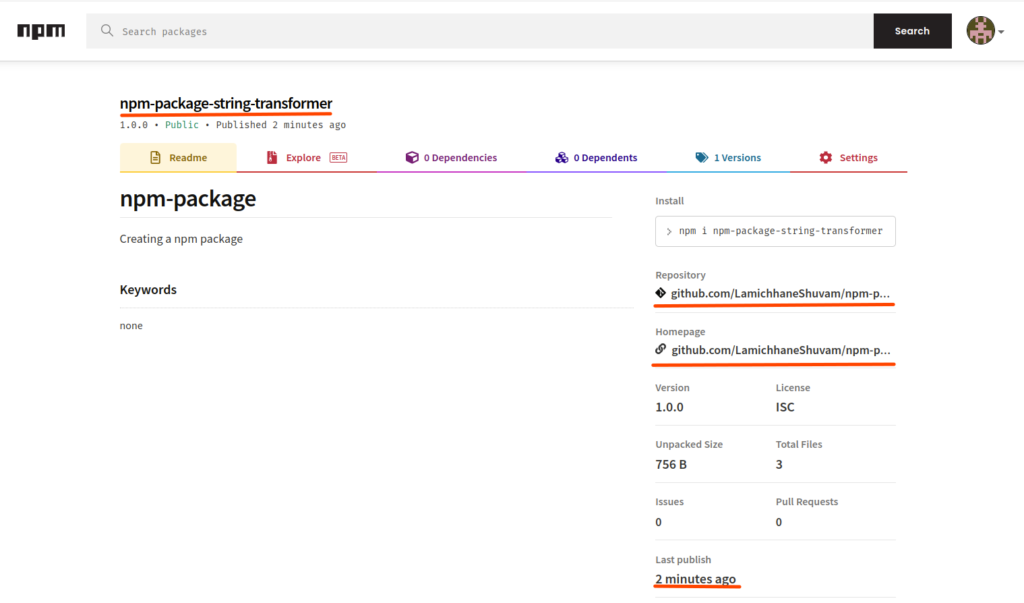
Now, that your package is published, search for your package in our case npm-package-string-transformer in npmjs.com search area.


So, we can see that the npm package is published to the npm registry. Likewise, we have completed our goal to publish an npm package in this section.
Conclusion
So, in this article, we learned, how to create and publish an npm package. We also learned how to test the packages locally.
