

Looking for the tutorial about how to resize the disk space in EC2 ? Don’t worry, you’ve come to the perfect place. In this tutorial, you will learn how to resize disk space in EC2 instance without detaching the volume or restarting the server (Easily). AWS provides a block storage solution, EBS, for the instance. EBS’ Elastic Volumes feature allows you to increase volume size while the volume is still in use, making the resizing process much easier and faster without any downtime of the server.
Before extending the size of your EBS volume, It’s good to take a backup of your data with EBS Snapshot. It’s the best practice as if anything goes wrong, you can always restore the data.
Steps to resize disk space in EC2 Instance
Step1 : Create Snapshot
To take a snapshot of your volume,
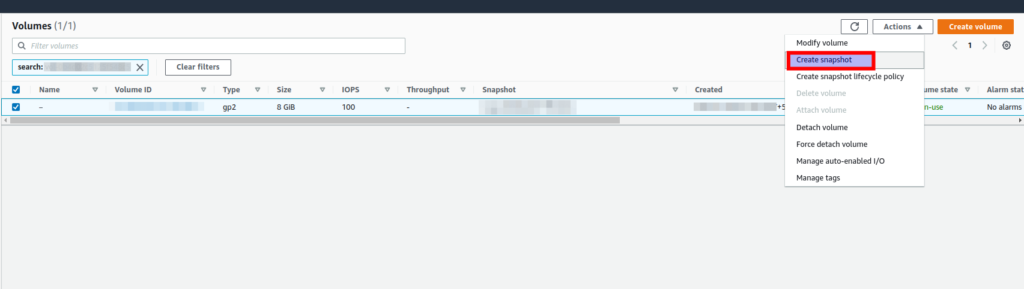
- Go to EBS volume attached to your instance from EC2 Dashboard.
- Click on Actions and Create Snapshot.
- Add the description value as you wish.
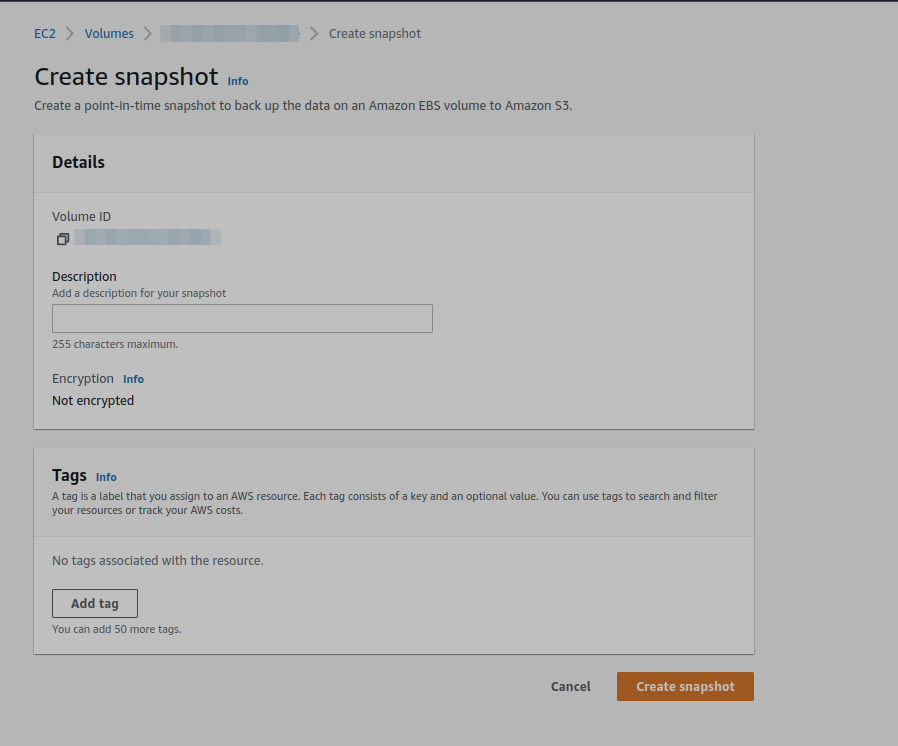
- You can add tags also.
- Click on Create Snapshot. It may take some time.
Step 2: Resize The EBS Volume of EC2 Instance:
After creating a snapshot of your volume, now it’s time to increase your disk space.
Steps:
- First Go to Services > EC2 > Instances.
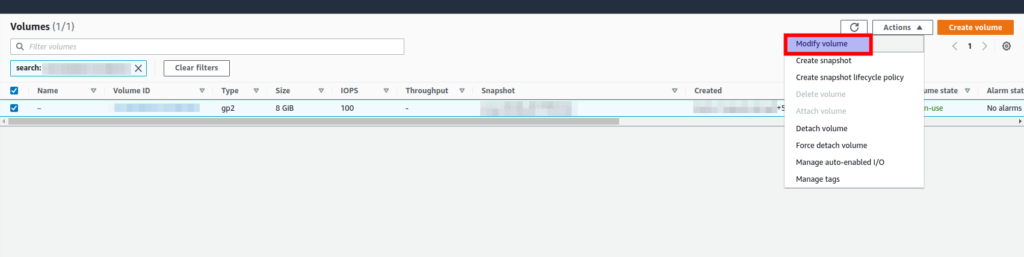
- Go to the EBS volume attached to your instance.
- From Actions click on Modify Volume.
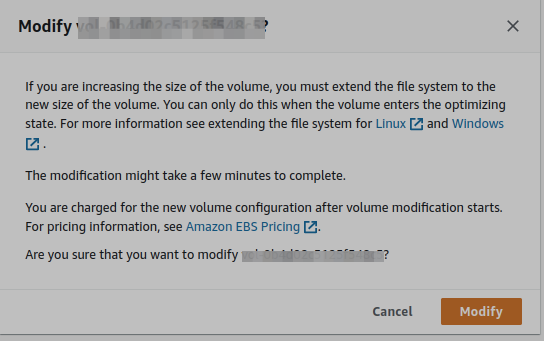
- Add your desired size, I will be replacing 8 with 30.

- You’ll get a confirmation pop-up. Click on Modify.
Step 3: Resize The Disk Space in EC2:
You have successfully added a new volume size to your instance, but you aren’t using the new volume size. For this, SSH to your server or instance and run: df -h

Here, you can see our disk partition is still using 8GB. Check the partition size by running commands lsblk and blkid.

Here, xvda1 is your current volume with 8GB and xvda with 30GB.
Now extend the partition:
$ sudo growpart /dev/xvda 1
And, extend the volume:
$ sudo xfs_growfs /dev/xvda1
Type df -h to check the volume size, it must show 30GB.
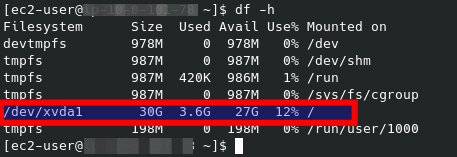
In our case, since the file system is XFS, we have to use xfs_growfs tool.
For file systems ext4, ext2, and ext3 you have to use sudo resize2fs /dev/xvda1.
Conclusion
In this way, the volume is now resized and ready to be used without any downtime.
Thank you!
Similar Articles: