Introduction
Node.js is an open-source, cross-platform, back-end JavaScript runtime environment that runs on the V8 engine and executes Javascript code outside the browser. Node.js helps the developer write code that runs on the server-side, making it possible for server-side scripting to be achieved.
Node Version Manager nvm is a version manager for node.js, designed to be installed per user, and invoked per shell. nvm works on any POSIX-compliant shell (sh, bash, KSH, zsh, bash), in particular on these platforms: Unix, macOS, and windows WSL. Node version manager makes it easier to switch node versions, in cases where the currently installed node version is causing issues.
In this article, we are going to be setting up nvm on Ubuntu 20.04.
Prerequisites
- Access to the root account
- curl
Installation (Setup Node.js Through NVM)
Preinstallation
Refresh your local packages
sudo apt updateInstallation
Installing node version manager
curl -o- https://raw.githubusercontent.com/nvm-sh/nvm/v0.39.1/install.sh | bashTo install the latest version of nvm visit the project’s github repository.
Post-installation
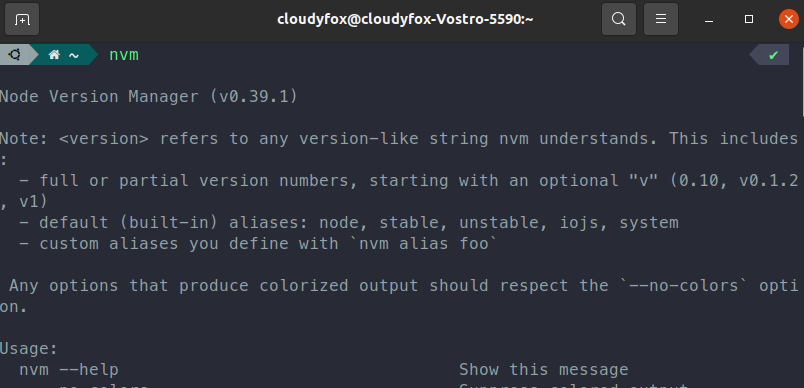
nvmoutput:

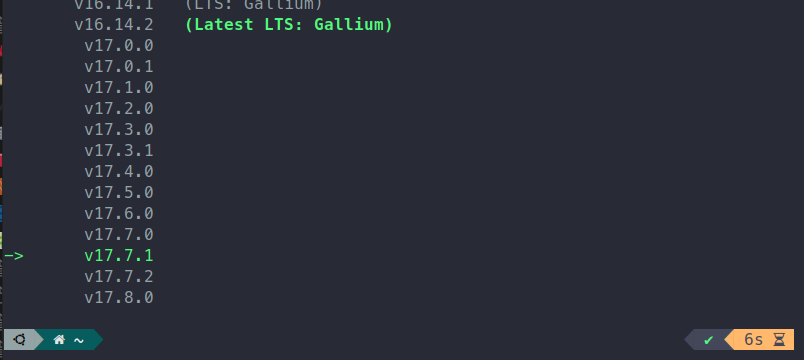
Listing all remote repository
nvm list-remoteoutput:

It lists all the remote repositories available to install
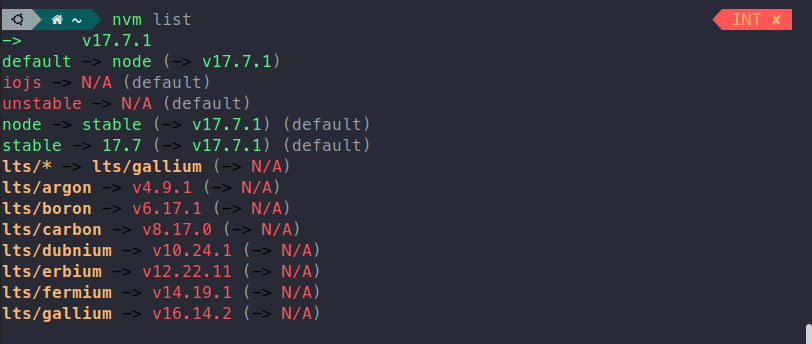
Now to list all the currently installed versions of the node
nvm listoutput:

using and installing different node versions
nvm install v8.17.0
nvm use v8.17.0
output:

After that we take a look at what node version is currently being used
node -voutput:

Along with installing the required version of the node, it uses the npm version that is compatible with the used version of node.
Conclusion
There are many ways of installing and running Node.js on Ubuntu. The most flexible way for installing node is through nvm. The nature of programming in the node is using other opensource libraries and modules, some modules may not have support for a newer version of the node. In that case, you have to uninstall the currently installed node version, and again install the required version that supports the module or package. In that scenario using nvm makes the whole process easier. As you don’t need to uninstall and reinstall you just need to install it through nvm and use it.
For a normal guide for installing node take a look at: How to setup Node.js and MongoDB
