
In this article, we will learn how to implement WebSocket using AWS services. API Gateway is an AWS service that provides the ability to create, publish, secure, maintain, monitor, and maintain REST, HTTP, and WebSocket APIs at any scale. As an API Gateway API developer, you can make APIs available to third-party app developers or use them in your own client applications. A WebSocket API in API Gateway is a collection of WebSocket routes that are integrated with backend HTTP endpoints, Lambda functions, or other AWS services.
Unlike HTTP-based APIs that use a request/response model with a client sending a request to a service and the service responding synchronously back to the client, a WebSockets APIs are bidirectional in which a client can send messages to the service, and services can independently send messages to clients.
Prerequisites
- A basic understanding of API Gateway
- A brief knowledge about AWS Lambda
- A basic understanding of Dynamo DB
WebSockets APIs
A WebSocket API is composed of one or more routes. To determine which route a particular inbound request should use, you provide a route selection expression. The expression is evaluated against an inbound request to produce a value that corresponds to one of your route’s routeKey values. By default, there are three defaults routes available in a WebSockets API. They are:
- $connect:- This route is used when a client first connects to our WebSocket API.
- $disconnect:- This route is used when a client disconnect from WebSocket API.
- $default:- If no other routeKey matches the value produced by the route selection expression, this route is used.
Except, for the above-listed routes, we can create other custom routes according to our requirements.
Websocket using AWS – Creating WebSocket API
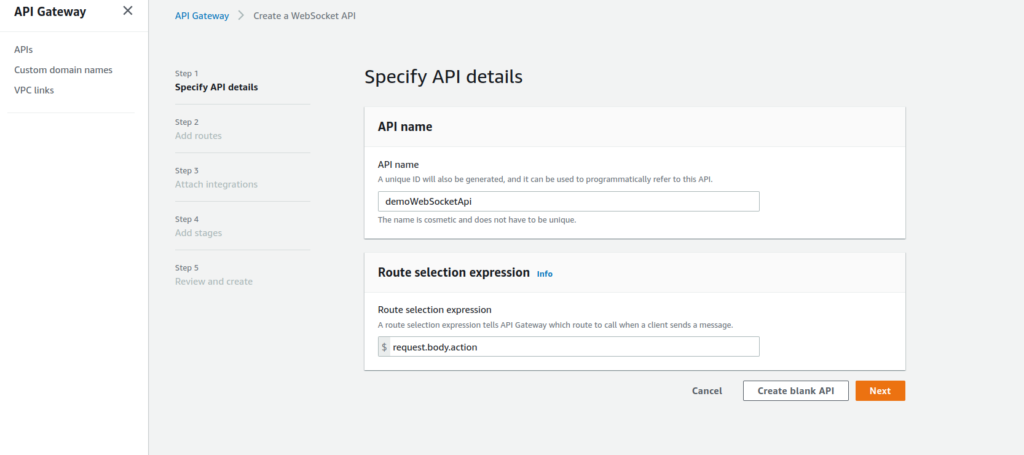
We will create a WebSocket API, using Amazon API Gateway. So, go to the Amazon API Gateway service using the console. Click Create API and choose WebSocket API then click Build. Then, fill in the API name and Route Selection Expression as you desired.
After creating the API, you will be redirected to the routes pages. Here we can see already predefined three routes: $connect, $disconnect and $default. Alongside these routes, we will also create a custom route name $onMessage. In this article, the routes will perform the following tasks:
$connect:- when this route is called, the connection id of the client device will be stored in DynamoDB using Lambda.$disconnect:- when this route is called, the connection id of the client device will be removed from the DynamoDB.onMessage:- when this route is called, a custom message will be sent to the connected devices.
So, before performing the above tasks we will need to complete the other related tasks listed below to learn websocket using aws api gateway along with lamdba and dynamodb:
- Create a Dynamo DB table to store connection id
- Create a Lambda function to store connection id
- Create a Lambda function to remove the connection id
- Create a Lambda function to send custom messages
Creating a DynamoDB
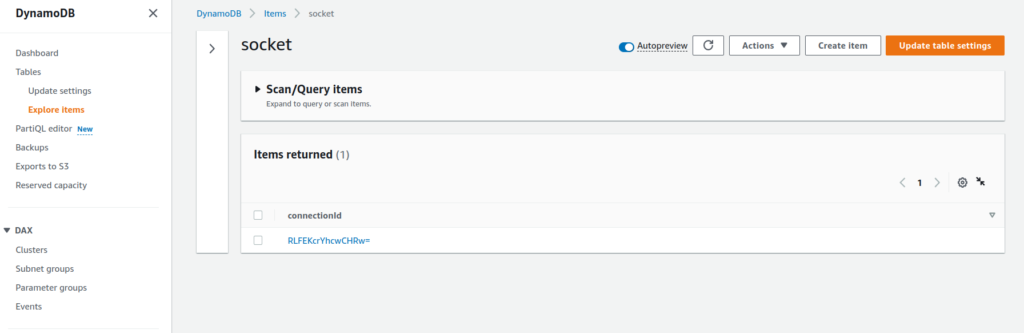
For creating a DynamoDB, go to the DynamoDB service using the console and create a new table named socket. Add connectionId as the primary key of the table.

Creating a Lambda Function
First, lets us create a connect Lambda Function. To create the Lambda function, go to Lambda services and click create function. Select Author from scratch and give the name as socketConnectFunction and a role with permissions to put and delete items from DynamoDB.
In the code section of the above lambda add the following code.
const AWS = require('aws-sdk');
const ddb = new AWS.DynamoDB.DocumentClient();

exports.handler = (event, context, callback) => {
    console.log(event);
    const connectionId = event.requestContext.connectionId;
    addConnectionId(connectionId).then(() => {
        callback(null, {
            statusCode: 200,
        })
    });
}

//Store connectionId in the socket table
function addConnectionId(connectionId) {
    return ddb.put({
        TableName: 'socket',
        Item: {
            connectionId: connectionId
        },
    }).promise();
}
Next, let’s create a disconnect lambda function using the same process as above and named the function socketDisConnectFunction.
const AWS = require('aws-sdk');
const ddb = new AWS.DynamoDB.DocumentClient();
exports.handler = (event, context, callback) => {
const connectionId = event.requestContext.connectionId;
deleteConnectionId(connectionId).then(() => { callback(null, { statusCode: 200, }) });
}
function deleteConnectionId(connectionId) {
return ddb.delete({
TableName: 'socket',
Key: {
connectionId: connectionId,
},
}).promise();
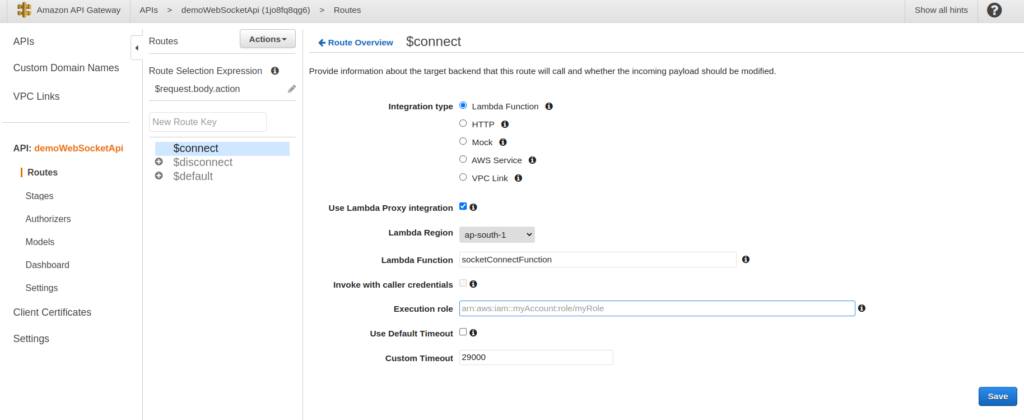
}Before, creating our custom message lambda function, let’s configure our routes and check whether a connection is established or not. So, let’s get back to API Gateway and configure the routes using our created lambda functions. First, click on $connectroute. As integration type, select Lambda function and select the socketConnectFunction.
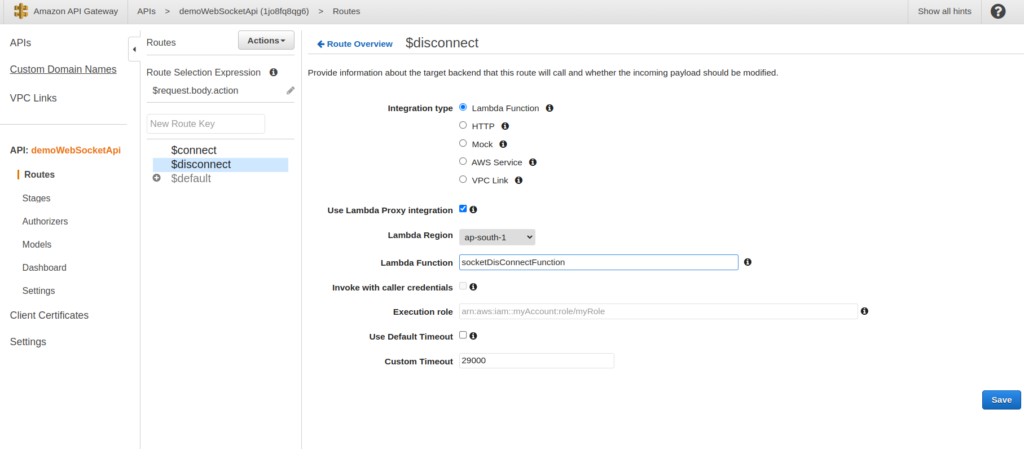
Now, let’s do the same on $disconnect route as well where the lambda function will be socketDisConnectFunction.
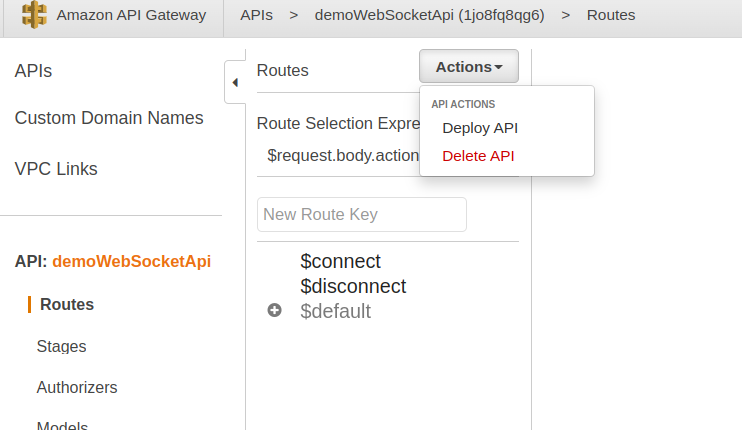
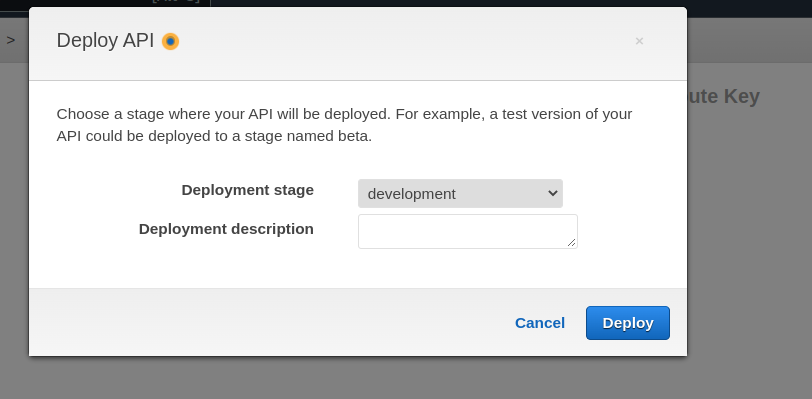
Now, we have configured both $connect and $disconnet routes, so to test these routes first we have to deploy the API. To do that, got to the Action button and click Deploy API. After that select the deployment stage value in which the APIs will be deployed.
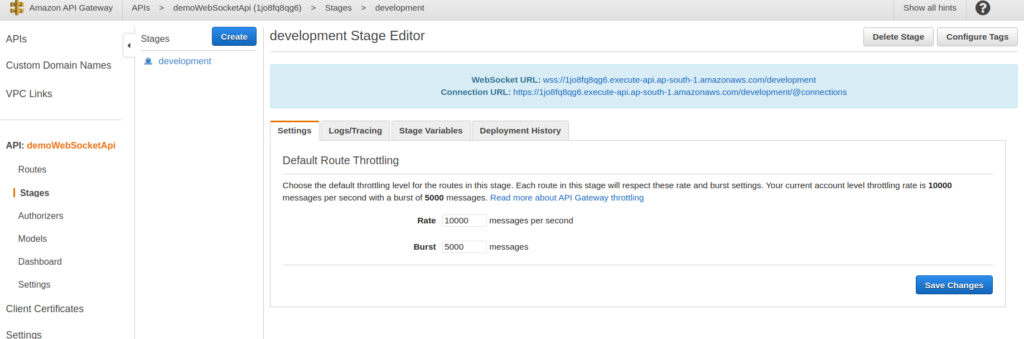
After deploying, we will have two URLs. The first URL is called WebSocket URL and the second is called Connection URL. The WebSocket URL is used to connect WebSockets to our API by devices and the Connection URL is used as the callback to the connected devices.
To test WebSocket URLs, we can use the wscat tool. We can install the wscat using the command npm install -g wscat. After installing the wscat , we can use the Socket URL presented in the above steps to make the connection.
wscat -c wss://1jo8fq8qg6.execute-api.ap-south-1.amazonaws.com/development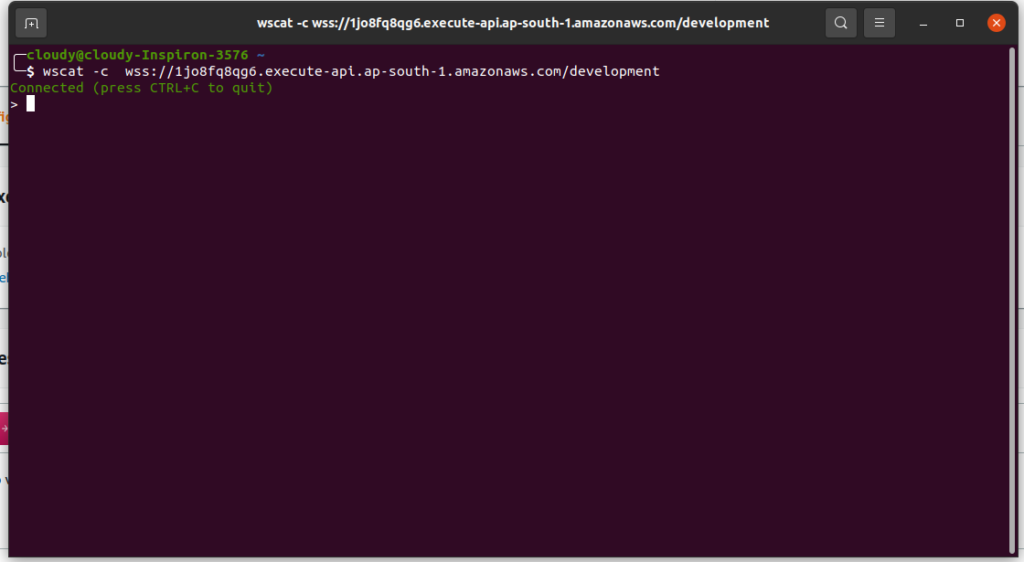
In the terminal, you will be provided with the above message if the connection is successful. We can go to DynamoDB and look for connectionId in the socket table to verify whether our connect lambda is working or not.
To test the disconnect lambda, we can simply press CTRL +C in the terminal which will delete the connectionId from the DynamoDB.
Now, let’s create our custom route that will send messages to the devices connected to the WebSocket API. First, let’s create a lambda function that will query all the connectionIds from DynamoDB and send the message to them. Let the name of the lambda be onMessageFunction and copy the following code in the function code section.
const AWS = require('aws-sdk');
const ddb = new AWS.DynamoDB.DocumentClient();
require('./patch.js');
let send = undefined;
function init(event) {
  console.log(event)
  const apigwManagementApi = new AWS.ApiGatewayManagementApi({
    apiVersion: '2018-11-29',
    endpoint: event.requestContext.domainName + '/' + event.requestContext.stage
  });
  send = async (connectionId, data) => {
    await apigwManagementApi.postToConnection({
      ConnectionId: connectionId,
      Data: `Echo: ${data}`
    }).promise();
  }
}
exports.handler = (event, context, callback) => {
  init(event);
  let message = JSON.parse(event.body).message
  getConnections().then((data) => {
    console.log(data.Items);
    data.Items.forEach(function (connection) {
      console.log("Connection " + connection.connectionid)
      send(connection.connectionid, message);
    });
  });
  return {}
};
function getConnections() {
  return ddb.scan({
    TableName: 'socket',
  }).promise();
}
Let’s create a new file name patch.js which will automatically create the Callback URL for our API and send the POST request.
require('aws-sdk/lib/node_loader');
var AWS = require('aws-sdk/lib/core');
var Service = AWS.Service;
var apiLoader = AWS.apiLoader;
apiLoader.services['apigatewaymanagementapi'] = {};
AWS.ApiGatewayManagementApi = Service.defineService('apigatewaymanagementapi', ['2018-11-29']);
Object.defineProperty(apiLoader.services['apigatewaymanagementapi'], '2018-11-29', {
    get: function get() {
        var model = {
            "metadata": {
                "apiVersion": "2018-11-29",
                "endpointPrefix": "execute-api",
                "signingName": "execute-api",
                "serviceFullName": "AmazonApiGatewayManagementApi",
                "serviceId": "ApiGatewayManagementApi",
                "protocol": "rest-json",
                "jsonVersion": "1.1",
                "uid": "apigatewaymanagementapi-2018-11-29",
                "signatureVersion": "v4"
            },
            "operations": {
                "PostToConnection": {
                    "http": {
                        "requestUri": "/@connections/{connectionId}",
                        "responseCode": 200
                    },
                    "input": {
                        "type": "structure",
                        "members": {
                            "Data": {
                                "type": "blob"
                            },
                            "ConnectionId": {
                                "location": "uri",
                                "locationName": "connectionId"
                            }
                        },
                        "required": [
                            "ConnectionId",
                            "Data"
                        ],
                        "payload": "Data"
                    }
                }
            },
            "shapes": {}
        }
        model.paginators = { "pagination": {} }
        return model;
    },
    enumerable: true,
    configurable: true
});
module.exports = AWS.ApiGatewayManagementApi;
Now, let’s add this lambda function to our custom route in API Gateway. In the New Route Key, add ‘OnMessage’ as a route and add the custom route and make the configuration as done in previous steps, and deploy the API.
To send messages to the connected devices, let’s create a connection and issue the following JSON to send messages:
{"action" : "onMessage" , "message" : "Hello everyone"}Here, the action is the custom route we defined and the message is the data that needs to be sent to other devices.

Conclusion
With this, you can implement Websocket Using AWS API Gateway and Lambda.